Making Vanilla Extract

vanilla extract-2

I’m not sure exactly how making vanilla extract came on my radar. It probably came from buying some at the store and experiencing sticker shock. I do a lot of baking, so I go through it pretty quickly.

I poked around the internet for recipes and mostly found ones on sites that sold vanilla beans. I suspected that the amount of beans they called for was pretty high because they had a product to sell. I am able to buy vanilla beans at my wonderful import shop Sahadi’s.

I decided to begin with a small (200ml) bottle of Tito’s vodka and 3 vanilla beans, cut in half lengthwise and again widthwise. I started that on 8/4 and put it in a dark cupboard to steep. After a month and a half I realized that I had been too cheap with the vanilla beans and bought 3 more. I cut them up the same as before.

It’s now 2 months later and the scent of the vanilla extract is heavenly. You can get into which type of vanilla beans you want to try. For now, here’s a basic recipe.

1 small bottle (200ml) of vodka

6 vanilla beans cut lengthwise and widthwise.

Drop the beans in the vodka and let sit in a dark cupboard for 2 months. Re-bottle into small cute bottles and share with your friends. Or horde it yourself and share your baked goods.

vanilla extract-1

How to Make Felted Acorns

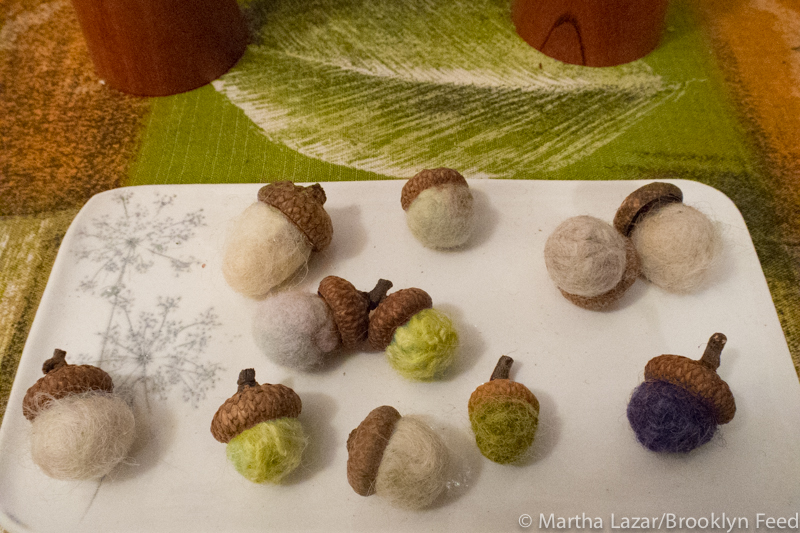
felt acorn-1The next time you are taking a walk in the woods, and the ground isn’t covered in snow, you might want to gather some acorn caps to make felted acorns. It’s a quick and simple project and looks nice on a little dish, or tied to a present, or even as an ornament. I thought they would be fun to make into a garland, but haven’t engineered that just yet.

To make the felted balls, you will need either wool roving or a rustic-style of yarn. The more processed the fiber, the less likely it is that it will felt. Think itchy wool, and you’re halfway there.

You will need a bowl of warm, soapy water. I used dish soap. Make a loose ball of yarn or roving about the size of a peach pit and dip it into the water. Squeeze the excess water out and start to roll the ball between your palms in a circular motion. Keep going until you can see that the ball is beginning to felt, which should happen in just a minute or two. Roll the ball until it is the perfect size to fit in your acorn cap.

Wait for the balls to dry and then glue into the cap with a little fabric or craft glue.

Fabric Gift Bags

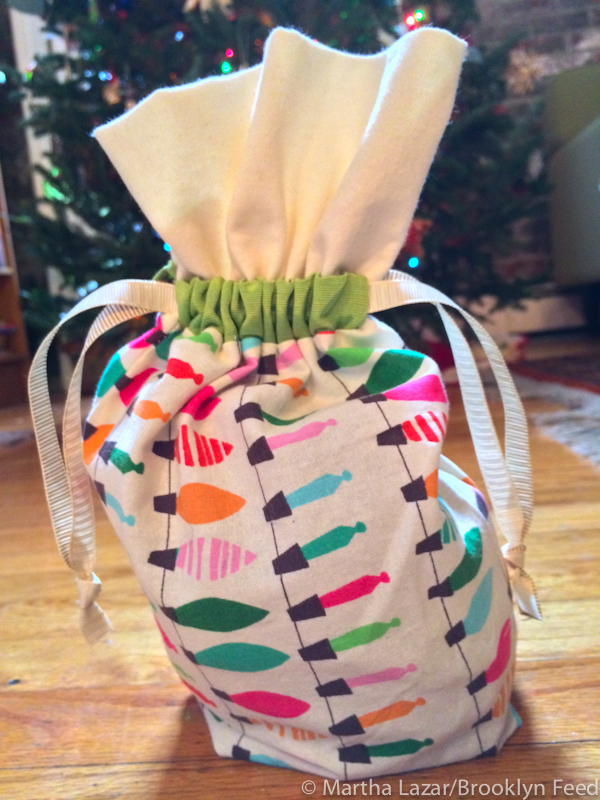
fabric bags-1Every year on Christmas I have a mini freak-out. It usually passes without notice, but this year I’ve decided to pre-empt it. The freak-out is about the big recycling bag filled with wrapping paper.  We usually wrap our gifts the night before, so this colorful paper is only “in use” for a few hours. I’ll spare you my rantings on the subject.

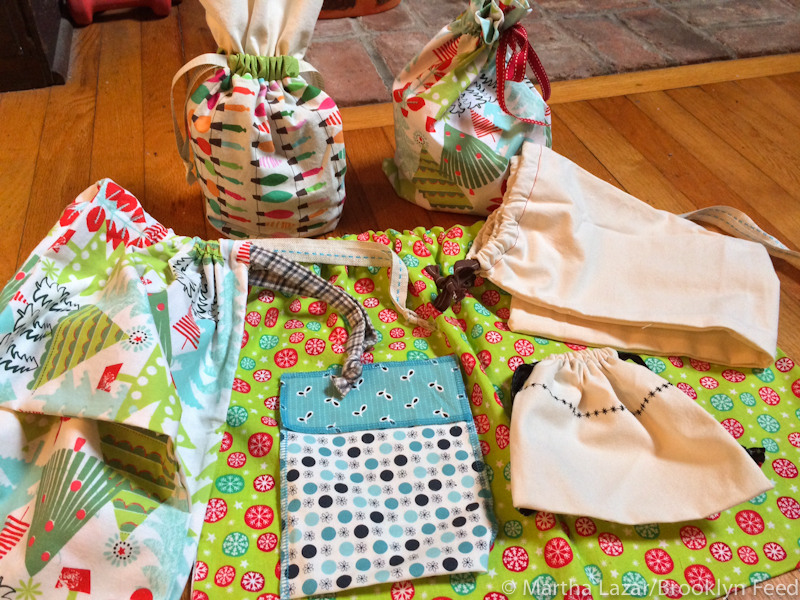
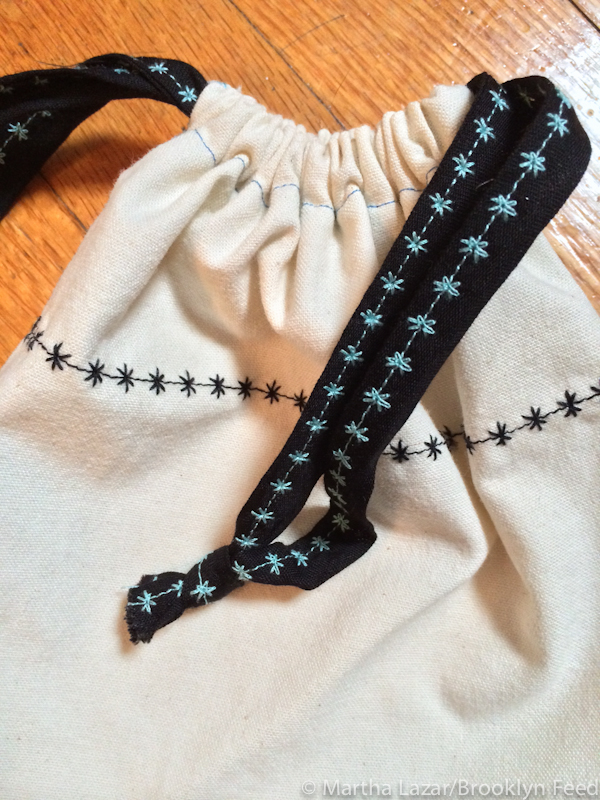
fabric bags-4Anyhow, this year I decided to do something about it. Inspired by my new serger sewing machine, I have been making fabric gift bags. It’s been a lot of fun to use fabric scraps that have been sitting in a box for ages. So much fun that I even ordered some holiday-themed fabric. As I see it, we will be able to use these bags for years and alleviate the need for wrapping paper. I have been plugging away at them and searching the web for different tutorials. Rather than make my own tutorial, here are some links to good ones that I used:

Drawstring bag by Kitty Baby Love. I used their instructions to make the larger muslin bag in the photo above. This bag has french seams and drawstrings on both sides of the bag.

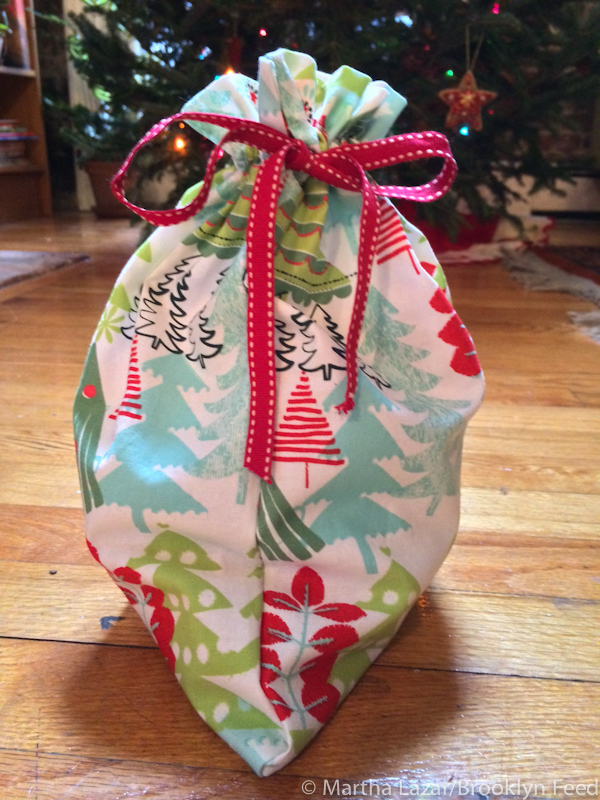
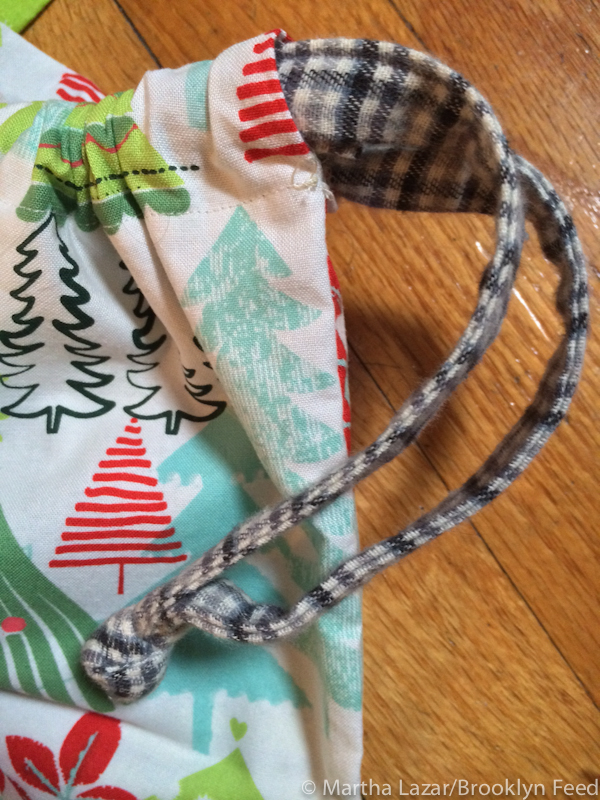
Fabric Gift Bag by Positively Splendid. I used their instructions for the bag shown below. It has a drawstring on just one side, which is nice if you are running low on ribbon.fabric bags-2

I made the bag below with instructions from the book Ready Set Serge.fabric bags-3

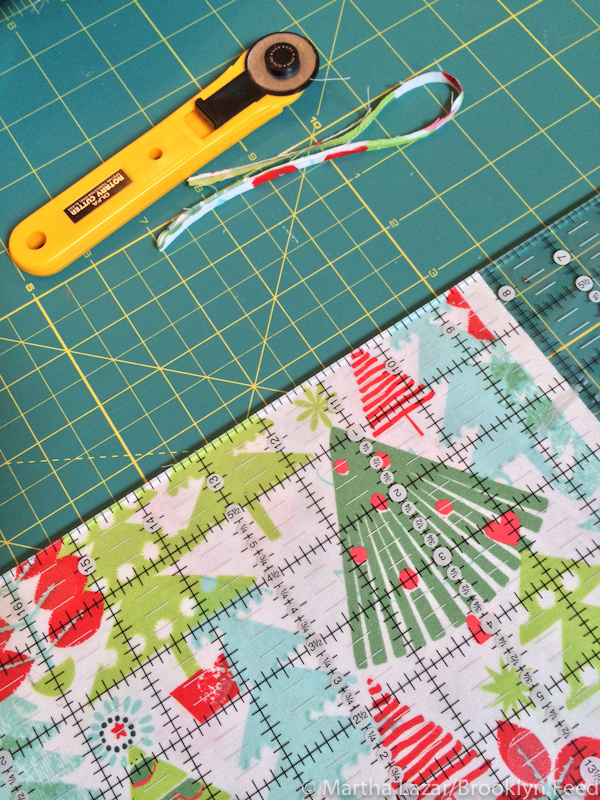
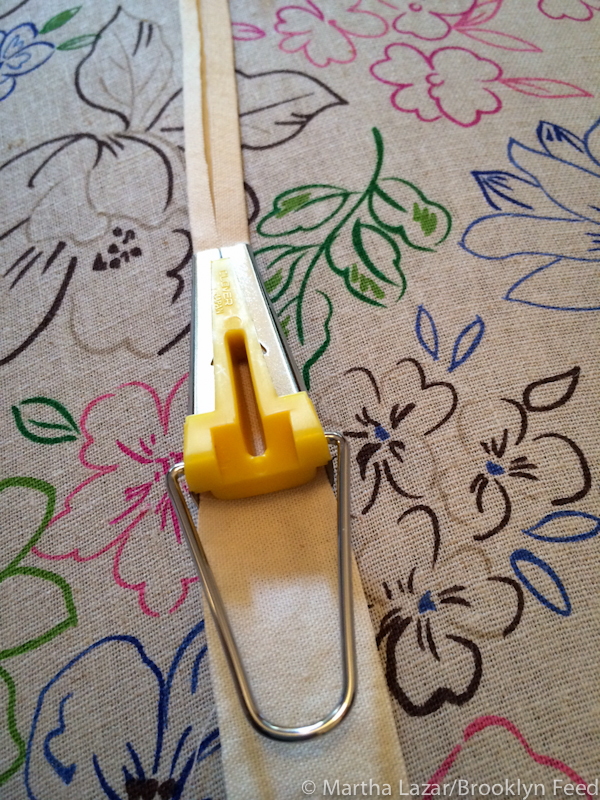
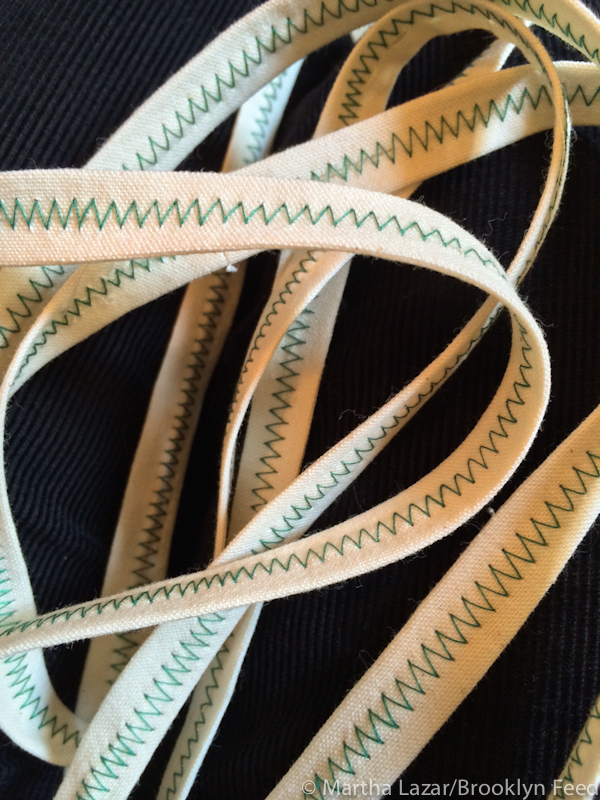
Making drawstring bags uses a heck of a lot of ribbon, which can get pricey. When I ran out of ribbon, I wanted to keep going instead of having to shop for more. What do they say about necessity being the mother of invention? I decided to take out my bias tape-making gadget and turn 1″ strips of fabric into bias tape. Then I chose fun stitches and thread to sew the seams closed.

fabric bags-7fabric bags-8fabric bags-6fabric bags-5

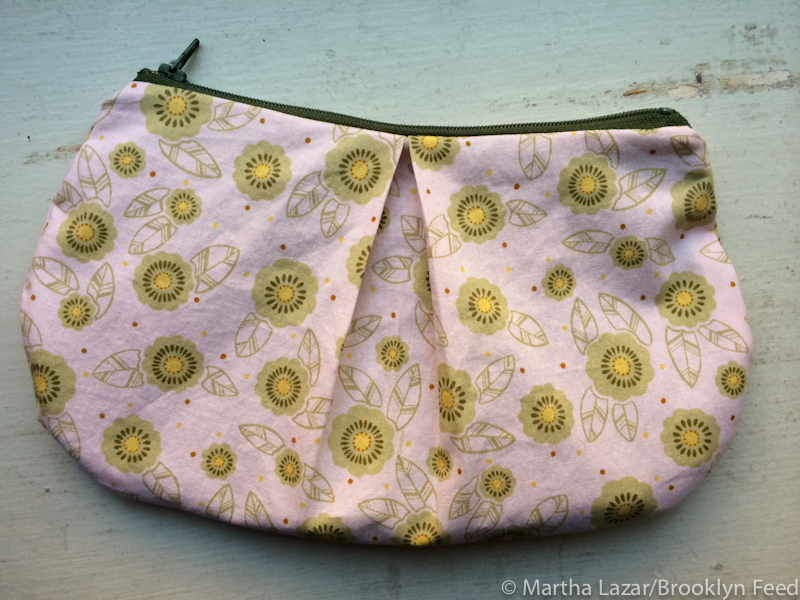
And what comes after all these drawstring bags you ask? How about a bunch of these cute zippered bags? So perfect for storing my knitting notions!fabric bags-9

Lace Shawl

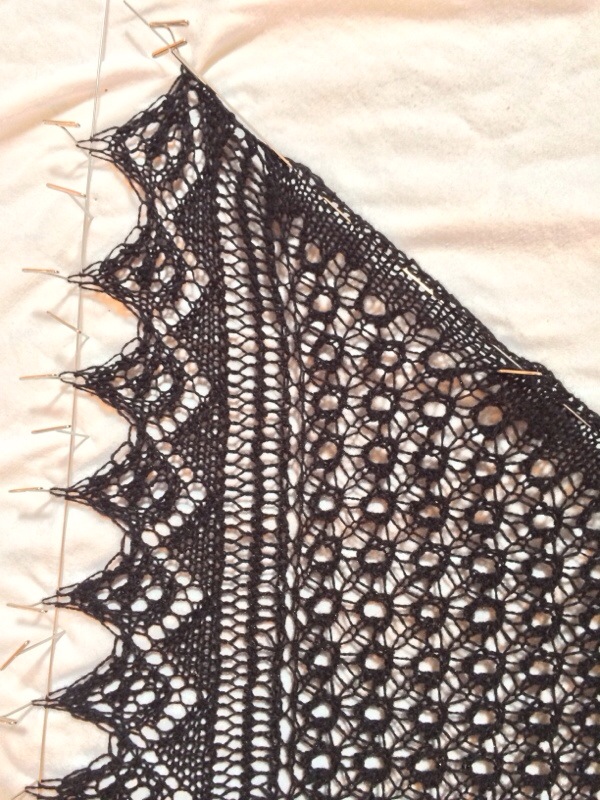
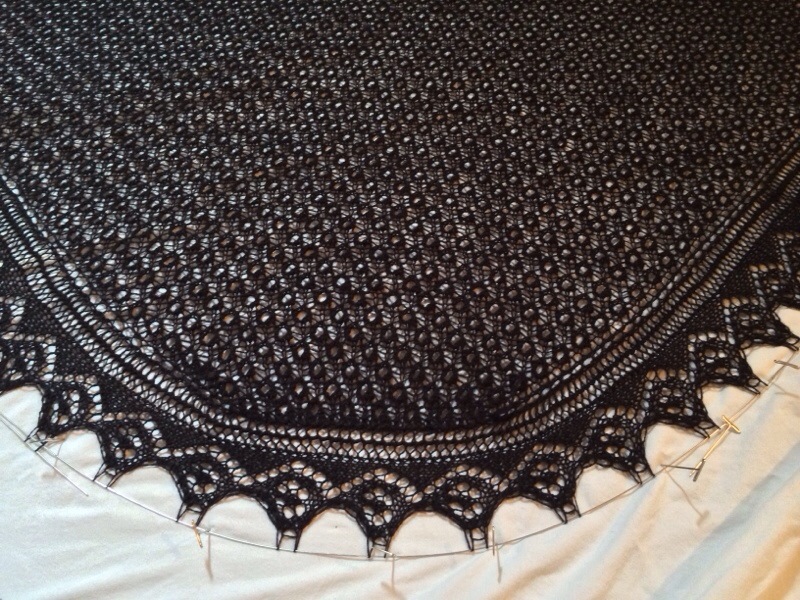
I think I started this shawl in 2007. It’s from a gorgeous book of patterns called Victorian Lace Today. The combination of intricate lace and the black yarn made this a beast to knit. It was left to marinade in a bin until a few months ago.

I’m not sure why this is, but often when I set a challenging project aside it is much easier when I go back to it. That was the case with this shawl as well.

I finished it and you can see it blocking (it’s crucial to stretch lace out to highlight the stitch pattern). I was even able to keep the cat off of it with all the uncomfortable pins.

Now I just need a photo of me wearing it!

20131206-113318.jpg

20131206-113335.jpg

Autograph Hankies

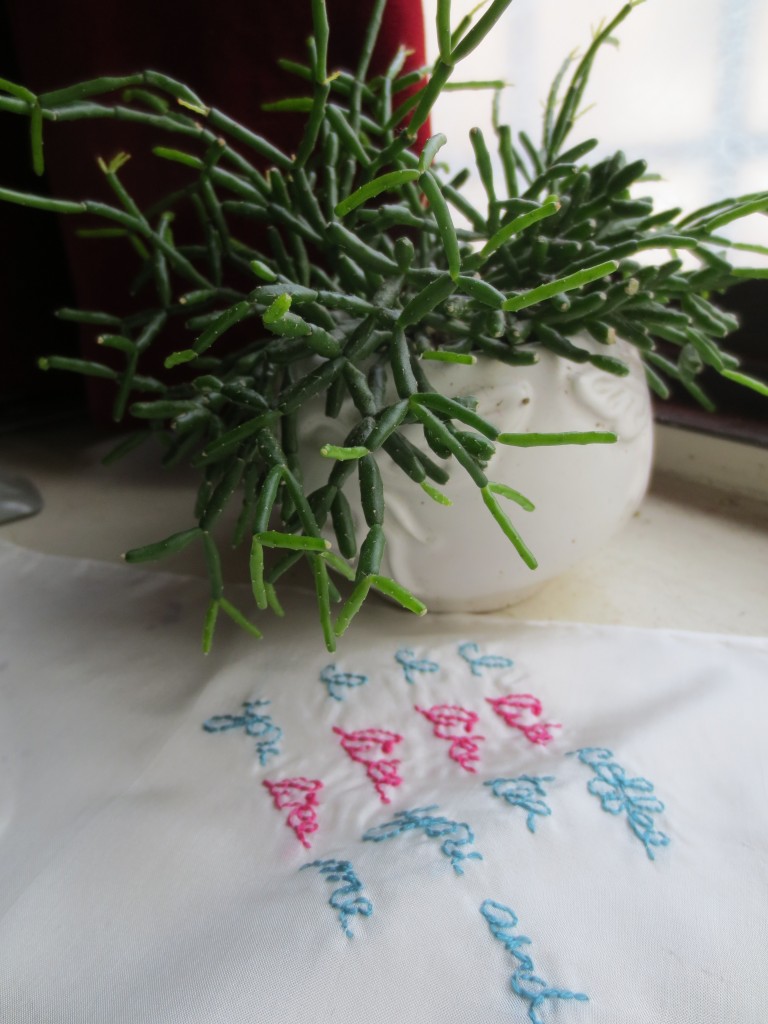
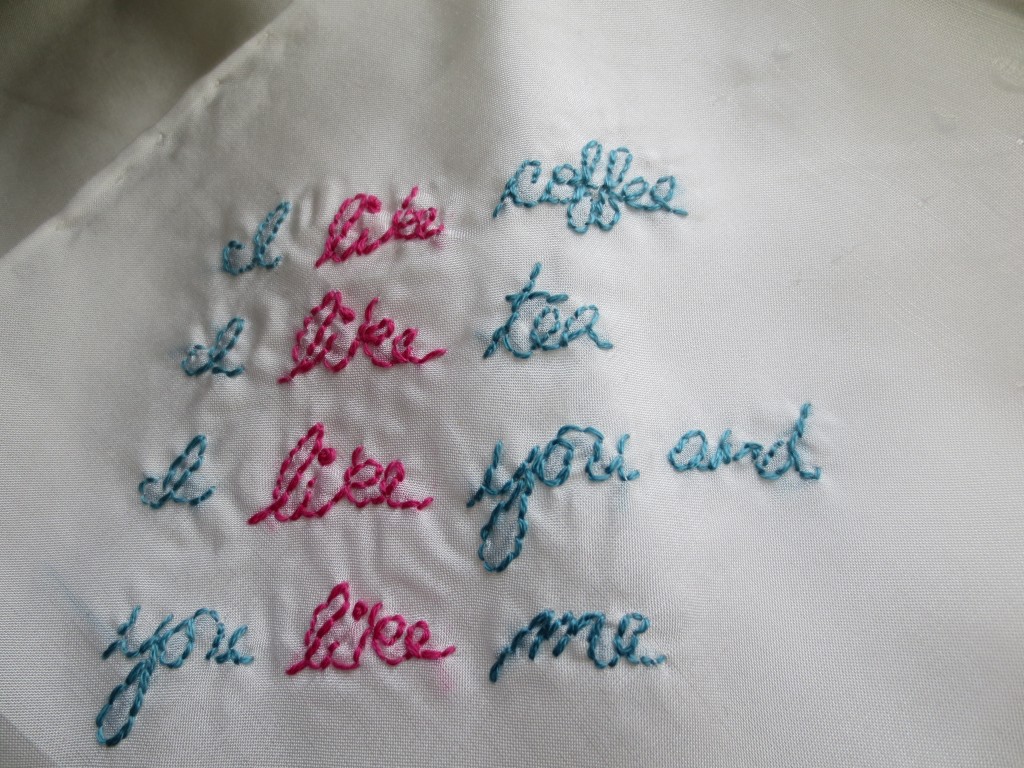
IMG_3308This past weekend Lindsay, my friend Eve and I took a free class at the NY Public Library. It was another installment of their crafternoon series. This one was making embroidered silk hankies.

One of the instructors, Rebecca Ringquist, brought quotes she pulled from her grandmother’s autograph album. This album was autographed by friends during middle school years. The quotes were funny and sweet and gave us inspiration for words to embroider on our hankies.

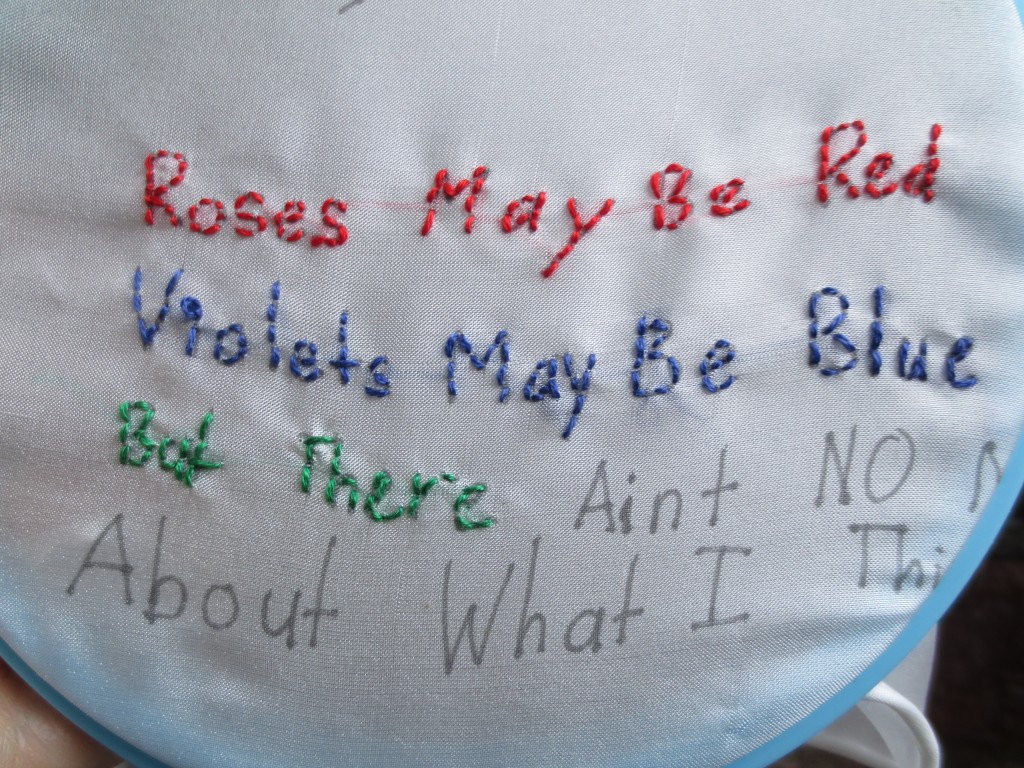
IMG_3307This was the quote I chose. Lindsay is working on this one, which when finished will say, “Roses may be red, violets may be blue, but there aint no maybe, about what I think of you”

IMG_3309

Some others that were fun were:

I love you little, I love you big, I love you like a little pig

Don’t make love under the garden gate. Love is blind but the neighbors aint. If in Heaven we do not meet, hand in hand we’ll stand the heat.

Pigs love pumpkins, cows love squash, I love you, I do by gosh

If I were a head of lettuce, and scattered my leaves apart, I’d give all my neighbors the outside and leave for you my heart


Beaded Crochet

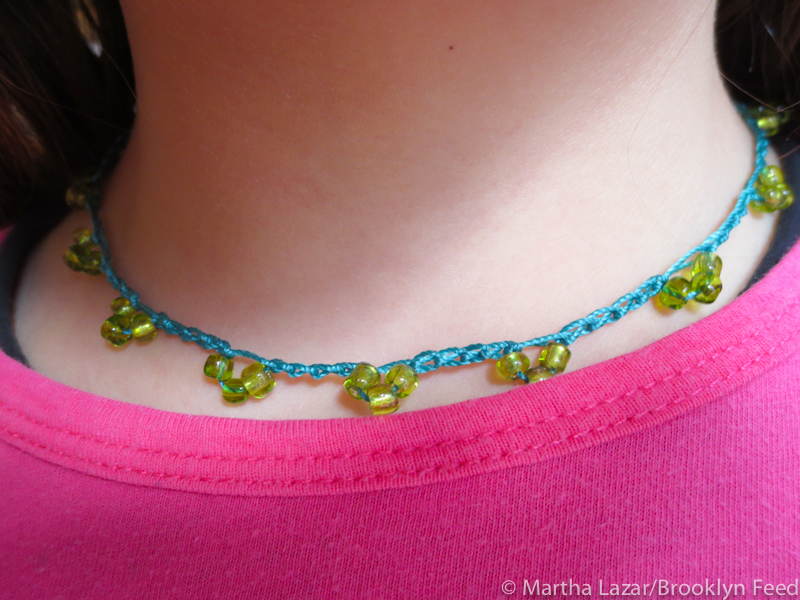
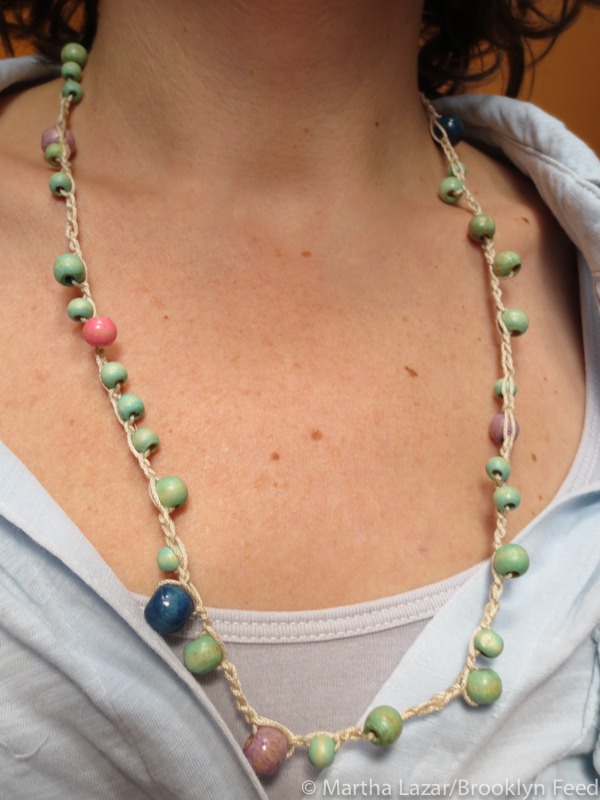
This Saturday I took a beaded crochet class at the New York Public Library. It was a part of their free crafternoon series. The teachers were a mother-daughter team Bert and Dana Freed and they taught us the basics of adding beads to a decorative cord to make jewelry.

It was pretty basic, but fun nonetheless. It reminded me of necklaces I saw a few years ago of beads and seashells that I liked, but never really considered how they were strung. Here are a couple of things I made after the class.

IMG_3172 IMG_3173I definitely like the colored cord with glass beads better and will explore some more options with that. Hope you all had nice weekends!


Making Butter

Making Butter from Martha Lazar on Vimeo.

On one of Lindsay’s school field trips, they visited The Old Stone House, which was an old Dutch farmhouse here in Brooklyn. On that trip they made butter and Lindsay has mentioned from time to time that she’s wanted to make some at home. You probably know by now that this request warms my little pioneer heart.

She recently brought it up again, so while Neil was out shopping, he picked up some heavy cream for her. We placed it in a large mason jar and started shaking it. And shaking it. I think it’s funny how she can look so badass while churning butter.

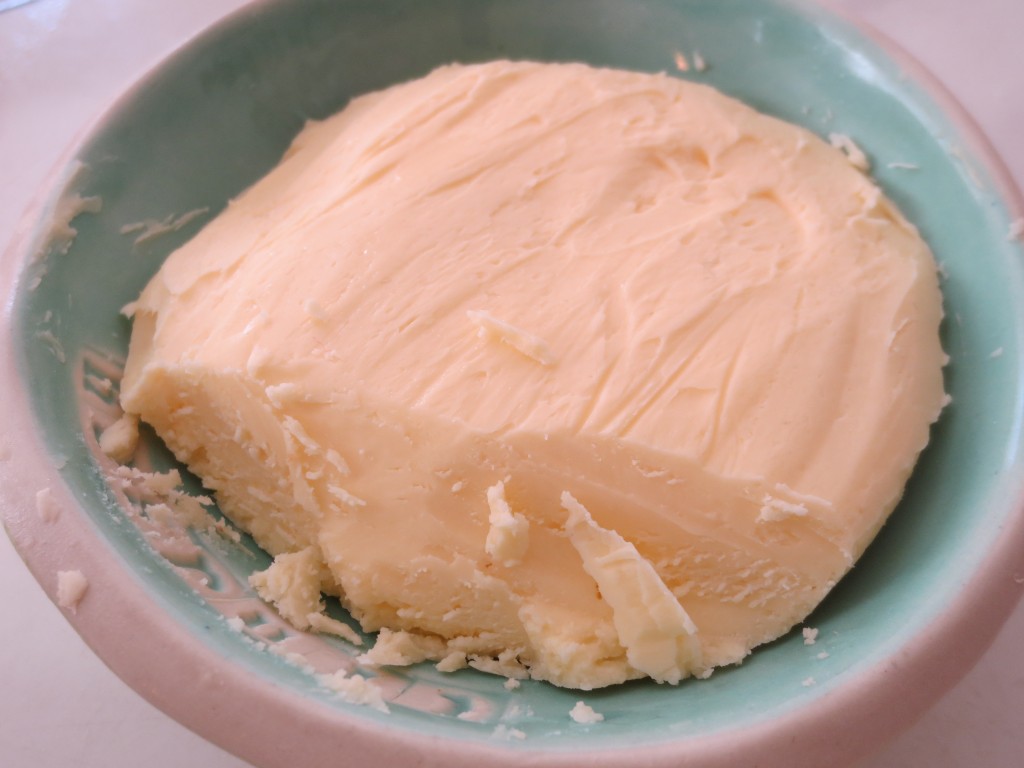
Eventually (and not before she lost interest and hopped in the bath), the cream separated into butter and buttermilk. We washed the  butter in cold water and Lindsay formed it into one of her bowls.


Making Sauerkraut

In this post, I showed how to make sauerkraut. I used a plain old ball jar to let the veggies ferment. I found this technique to be problematic, because it was difficult to weigh down the veggies.

When fermenting veggies, you really need to keep them below the surface of the brine. If they aren’t below, mold grows on them. Now, this isn’t uncommon, and many people routinely scoop the “scum” off the top. That just made me squeamish. It’s really funny, because if you ask most of my friends, I have a very high “skeeve” threshold.
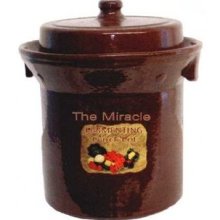
I wanted to get a crock that was made specifically for fermenting and pickling. In comes the Harsch Crock. This guy is expensive, but it’s the kind of thing you buy once. It comes with weights that sit on top of the veggies to keep them submerged in the brine. It also has a channel in the lid that you fill with water, which allows gases to escape the crock, but doesn’t allow air or debris in.

I looked online at all the tiny photos like this one and ordered one. I was very surprised with how huge the crock was when it arrived. Does anyone else have this problem? Tiny photos, nothing next to it to show scale…? Okay, I know it said 5 liter capacity…

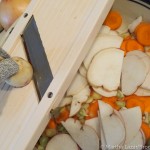
So, it’s been sitting around waiting for me to want to make an enormous batch of sauerkraut or pickles. I also got a mandoline to help with slicing all the cabbage.

My Very Loose Recipe for a 5 liter crock (you can also use just cabbage, or add other veggies like radishes, garlic, bok choy):

  • 3 heads of cabbage. I show a head of red cabbage below, but decided to stick with just green cabbage. You can certainly use red, but your sauerkraut will turn out pink.
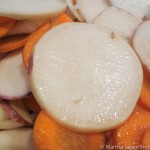
  • 4-5 large carrots
  • 4-5 turnips
  • 1 large onion
  • 2 leeks (white part)
  • appx. 9 T salt

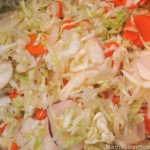
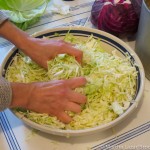
After slicing all the veggies, you need to add salt and knead until the vegetables release the water from their cell walls. I add about 3 T of salt per large pasta bowl. I filled this bowl three times.

After you have done this, you should take handfuls of the veggies and press them firmly into the crock. I use my fist to tamp them down. Add all the water released and press the veggies under the water level. If you don’t have enough liquid, you can add 2 cups of water with 1 t. of salt dissolved in it. I save a few whole leaves of cabbage to place on top of all the chopped ones. This helps hold the loose pieces down.

Then put a plate, rock, ziploc filled with salt water, or the weight from the crock on top of the cabbage leaves to keep everything submerged. You let this sit out for a few weeks to ferment. Taste it periodically to test how fermented you like it. Too fermented gets mushy.

I made this batch about a week ago and the crock is sitting in a corner of my kitchen. I kept hearing little blerps and couldn’t figure out what the source of the noise was. It turns out it was bubbles emitting from the sauerkraut crock. Euw. As I mentioned in my previous sauerkraut post, you have to get over the fact that the food is basically rotting away. That is part of the process and it produces a delicious food that is extremely healthy.

Finished Teacher’s Shawls

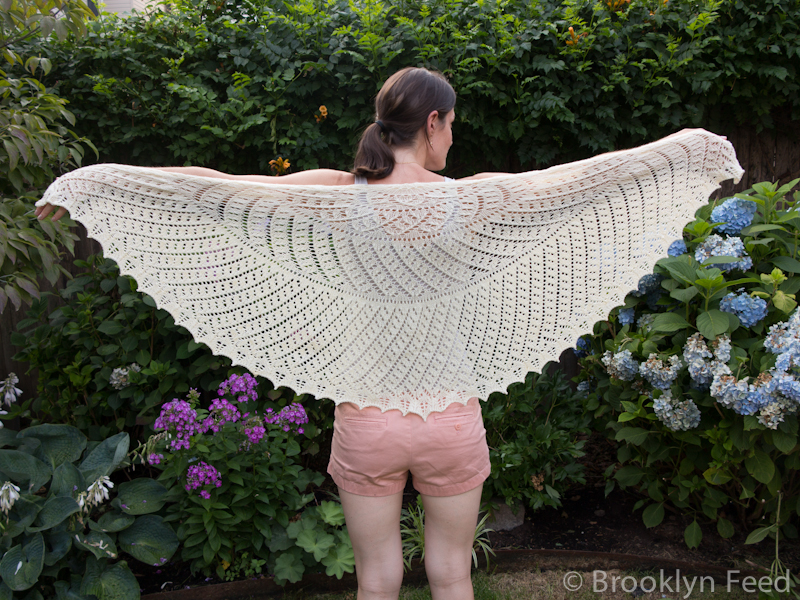
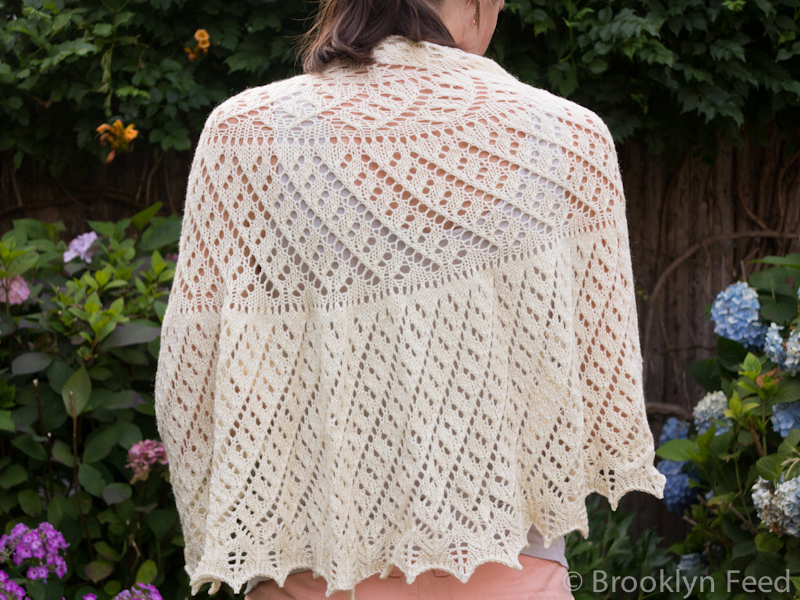
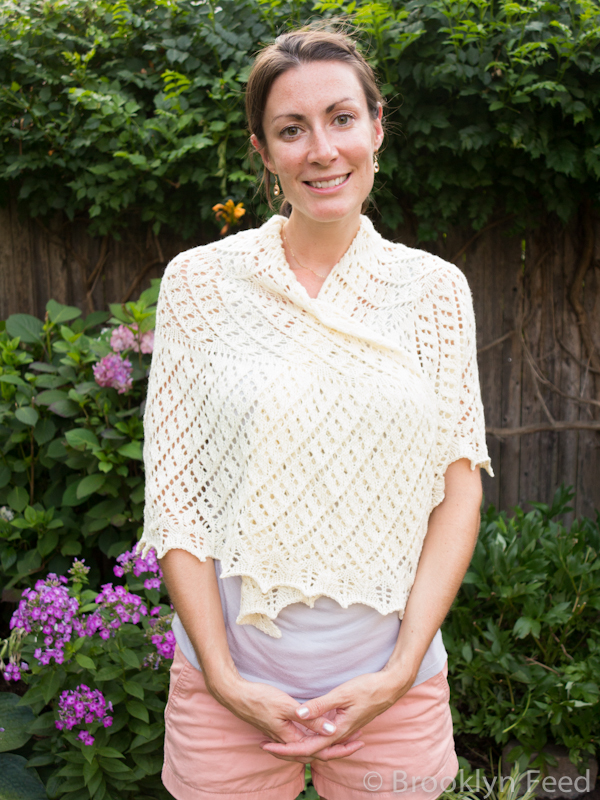
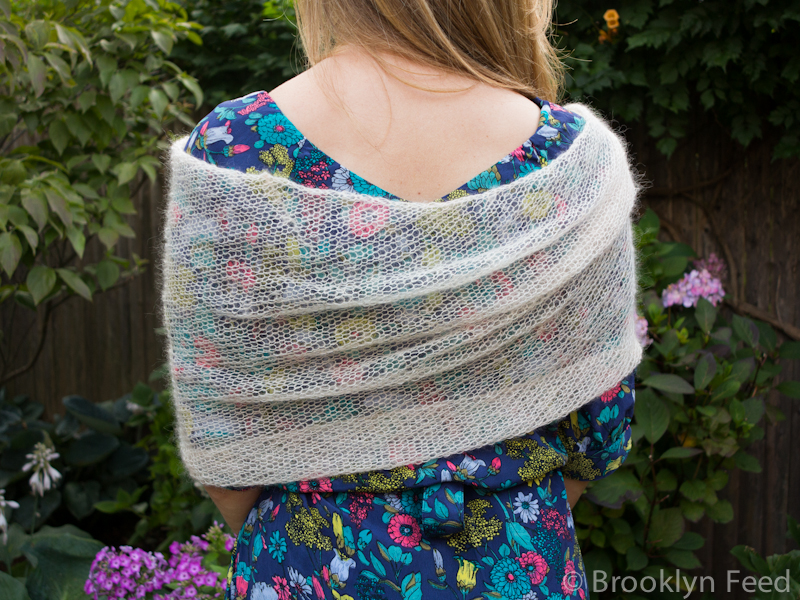
Finally getting around to posting photos of the 2 shawls I made my daughter’s teachers. I gave them their shawls at an end of the year party in June. The white shawl will be worn with her wedding dress. The other shawl is a very pale peach color, which doesn’t show well in the photos.

So remember this lumpy pile?

Here it is all blocked.

Here’s the other shawl, which is really a loop. It can be worn as a wrap or as a long loop scarf.

Have you ever seen such sweet teachers?