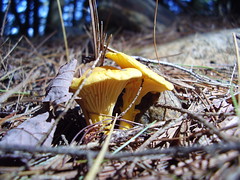
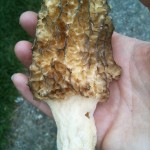
During my morel hunting last Saturday, I noticed other wild edibles in the woods. There was winter cress, garlic chives (as a kid, we called this onion grass), watercress, and two highly invasive plants – garlic mustard and Japanese knotweed.
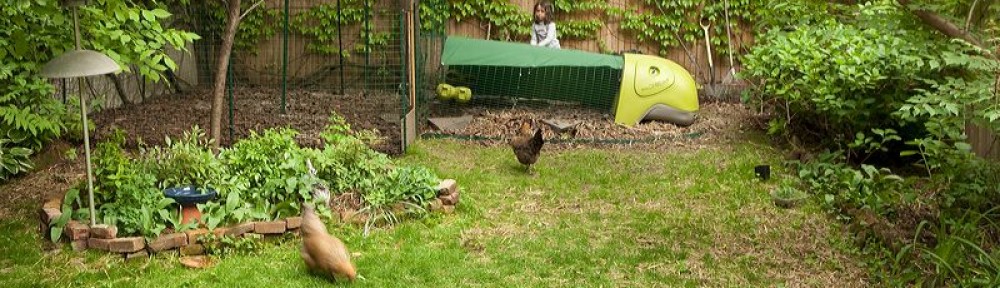
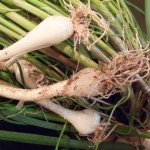
Being the somewhat nature-deprived city gal that I am, I took the opportunity of gathering some wild edibles while I was in the woods. I gathered all of the above except the Japanese knotweed. Lindsay took ownership of the garlic chives, and delighted in pulling them up to get the bulbs. We made scrambled eggs with chives that were delicious. The eggs, of course, were from our backyard chickens.
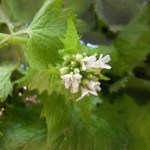
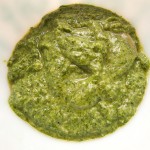
The garlic mustard looked hopelessly wilted by the time I got home, so I put it in a big bowl of cold water hoping to revive it. It seems as though nothing can kill garlic mustard, and it perked up in no time. I made a delicious pesto sauce, using 50% basil leaves and 50% garlic mustard leaves and buds. Now is the time to pick garlic mustard to eat, because after the flowers bloom, the plant becomes too bitter.
-
-
-
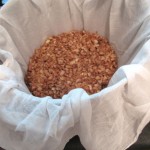
garlic mustard pesto
-
-
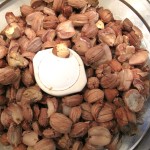
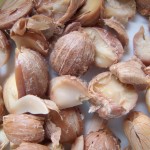
garlic chives
-

-
scrambled eggs with garlic chives
-
-
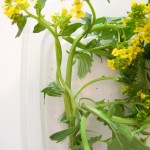
winter cress
-
-
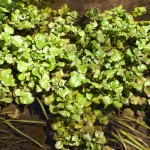
watercress
In searching online for garlic mustard recipes, I learned more about the plant itself. It is a highly invasive plant that European settlers brought to plant in their kitchen gardens. It is a prolific producer of seeds and will blanket an area in a very short time, choking out all other native plants, including jack-in-the-pulpit, solomon-seal MOREL MUSHROOMS, and others. Wild animals don’t like to eat it, so it grows completely unchecked. And if that weren’t bad enough, the roots send out a chemical compound that makes the soil inhospitable to other plants. A very primitive form of chemical warfare.
There are many groups that host garlic mustard pulls. The amount of bags filled with the weed is astonishing. Unlike other weeds, you can’t pull this one up and just leave it on the ground. The flowers will have enough energy to produce seeds even after the plant has been uprooted. You have to pull it up by it’s roots and bag it.
Here’s a video that talks about the problems with garlic mustard. It helps you identify it and learn how to get rid of it. There’s even an annual Garlic Mustard Challenge, in which you help them log how many bags of garlic mustard have been pulled. Take a peek here.
Garlic Mustard Identification and Control from Barbara Lucas on Vimeo.