Garden Kale

I think that this post should be called The Lazy Gardener Gets the Kale.

So for some unknown reason, I didn’t harvest my kale last fall. Don’t ask me why because I don’t have a valid reason. Or any reason for that matter. So I guess the glaring answer is laziness…

Anyhow, we had such a mild winter that the kale survived. I didn’t even have to cover it. Again with the laziness. Sheesh!

I’ve been planting away this spring and decided to finally pull up the spindly looking kale and actually eat it. It’s Tuscan kale, or lacinato kale, which is very tender. And just to keep the whole lazy streak going, I did the simplest (and very delicious) preparation, which is to sauté it in olive oil with garlic. It was worth the wait!

How to make stock

I make a simple stock that is a combination of chicken and veggies. You can make yours all vegetarians very easily. I don’t go out and buy the ingredients for my stock. I kind of just, uh, stockpile them. Hee  hee. What I do is whenever I cut the ends off of carrots, or pull the stems off of parsley, I put the trimmings into a ziploc bag in my freezer. Bones from chicken, woody asparagus ends, whatever I’m cooking with goes in the bag.

When the gallon-sized bag is full, I put everything in a stock pot and cover with a couple of inches of water. I simmer for about an hour, or until the aroma makes my feet lift off the floor and I float towards the kitchen.

I scoop the big pieces out and then pour the stock through a mesh strainer. Voila! It’s much better than those cartons of chicken stock. And it’s already made with everything I like to eat.

Sausage Making!

I’ve been trying to gear myself up to make my own sausage. I’m not sure why, but it’s been intimidating. Neil got me an attachment for my stand mixer and my friend Michael got me a book on charcuterie. I watched loads of Italian and Polish men stuffing sausage on YouTube. But still I was intimidated. I ran into a friend on his way to a “sausage party”. Wasn’t sure if this was a cooking demonstration or a lifestyle party. Turns out he took a sausage making class. We went to their house with pickles a friend of mine and I made (she made pickled eggs) and George showed us how to stuff sausages.

A couple of weeks ago a good friend of mine visited from Toronto. He’s a fabulous cook, so we thought it would be fun to make a nice meal together. We made pasta, which was great because I wanted to see the consistency of his pasta dough (I think I make my dough too wet). And we made sausage. It was a whole family affair. Neil grilled it on the bbq and we were talking about it weeks later. We followed the recipe for a basic sweet Italian sausage, but added fresh basil, ground coriander and a cube of porcini bouillon.


How to Make Sauerkraut

I learned how to make sauerkraut in a workshop given by Sandor Katz. You can see his book Wild Fermentation in my booklist on the right. What I learned is that it is probably one of the easiest things you could make. So go ahead and impress all of your friends by making some.

What you need:

A variety of vegetables – You can go with just cabbage, but in the workshop Sandor used all kinds of fall veggies. I made a batch like that before and it came out delicious. In this batch I used a head of cabbage, a few giant carrots, a few radishes (the gorgeous finger-like ones above) a couple of turnips, an onion and  some bok choy. It’s a great way to use up fall veggies from the farmer’s market or your CSA.

Slice and chop up your veggies. I shred the cabbage and bok choy and cut everything else about 1/8″ thick. Place them in a large, non-reactive bowl and add a lot of salt. For this amount of veggies, I added 3T of salt. Then you knead the salt into the veggies to break down the cell walls and start drawing out the moisture. I’m not sure if you can tell from the photos, but the veggies are starting to get wetter as I go.

Once you have a fair amount of water, you want to put everything into a jar or crock to ferment. I use a big Ball jar. You have to really smush the veggies into the jar and press down on them very firmly. Add all of the liquid as well. I got a huge bowl of veggies to take up about 6 cups of space in this jar. As you push, the liquid rises above the level of the veggies. You want this to happen. Keep the veggies pushed down under the surface of the water. I don’t have a fancy sauerkraut pot (yet), so I put a glass on the top, which weighs the veggies down.

You don’t want to seal the jar, but you do want it covered. Wrap a cloth or paper towel around the top and secure with a rubber band. And then you let it sit for a week or so. Now you have to de-program your brain and let this sit out unrefrigerated. It will even emit bubbles, which made me surprisingly squeamish the first time I did this. The length of time it takes to ferment depends on how warm it is and also how strong you like your sauerkraut.  My batch is ready to bring up to my in-laws for the Thanksgiving weekend.


Making Fruit Vinegar

I am in the midst of making my first batch of fruit vinegar. If it works out, it will be ridiculously simple. You just take some ripe or even overripe fruit, add sugar water and wait. I’m going to see how it turns out before I post a recipe. My elderflower experiment wasn’t the success I had hoped it would be.


Rosh Hashanah

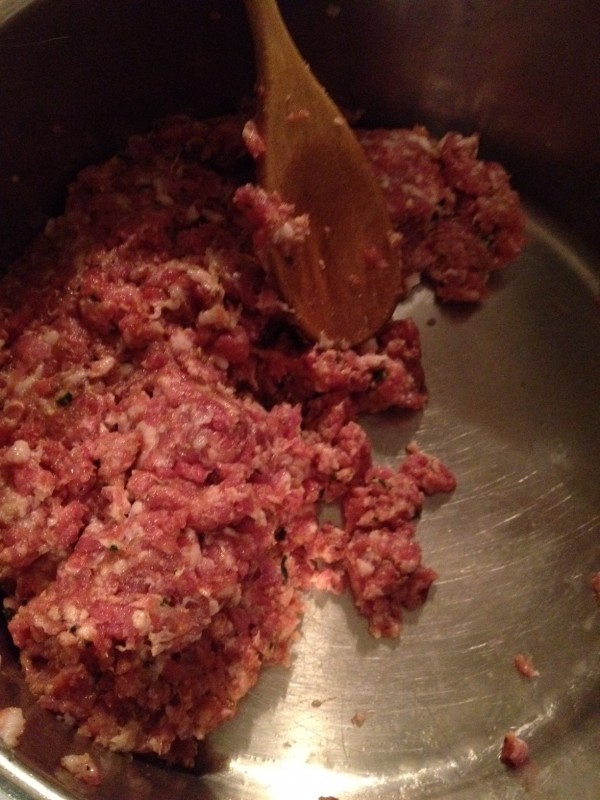
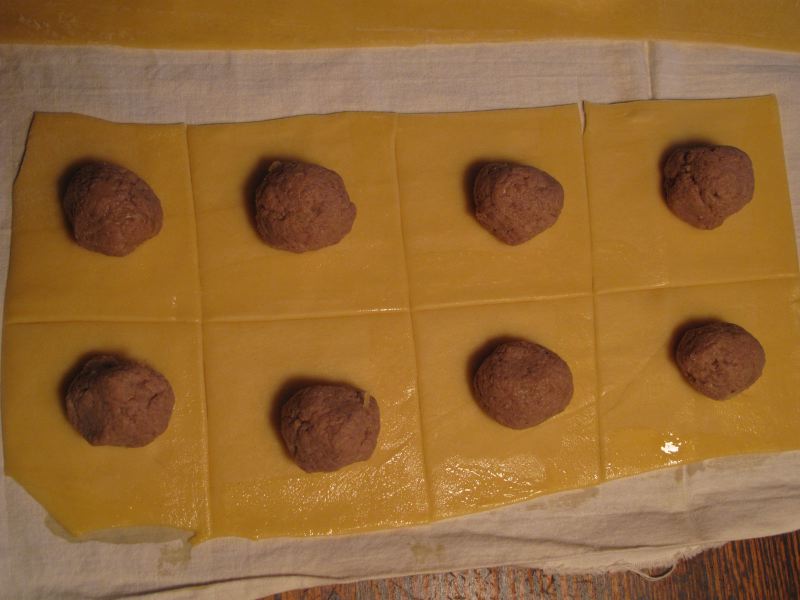
Last week we went up to my in-laws to celebrate the Jewish New Year. One of their big traditions is the making of kreplach, which is the Jewish version of a dumpling or wonton. It is filled with brisket and carmelized onions that are then ground together.

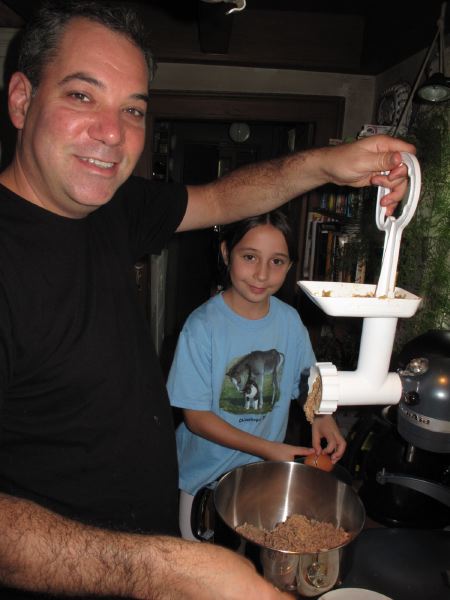
My father-in-law learned how to make them as a young boy by helping his bubbe (grandmother) and mother. His job was to crank the meat grinder. He has carried on the tradition, using his bubbe’s old rolling pin. They are extremely labor intensive, as you make and roll out the dough for each dumpling. And we’re not talking about making a dozen. He makes about 18 dozen at a go. He experimented with using wonton wrappers in the past to save some of the labor, but always preferred the real kreplach dough he and his bubbe made.

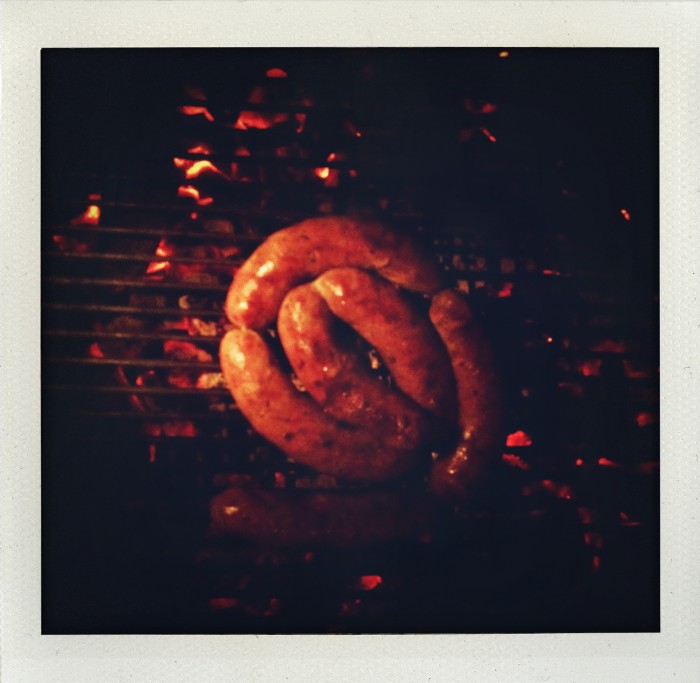
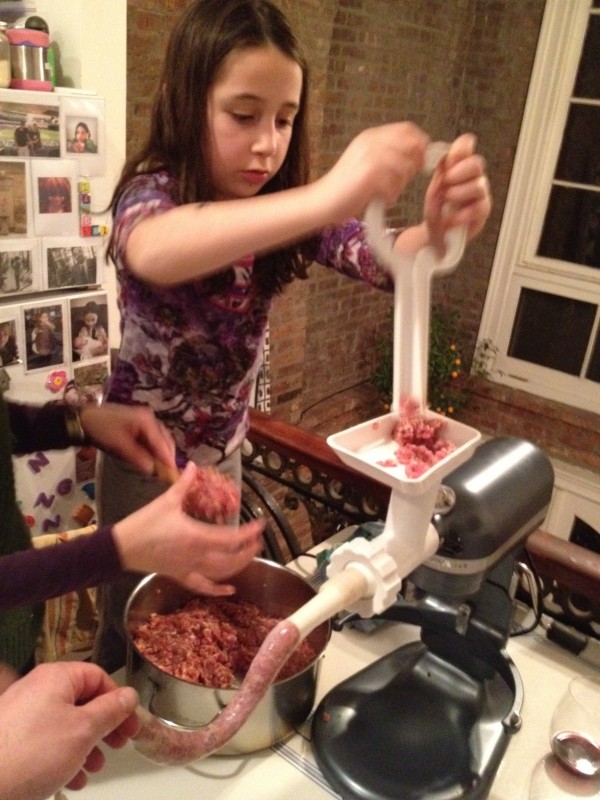
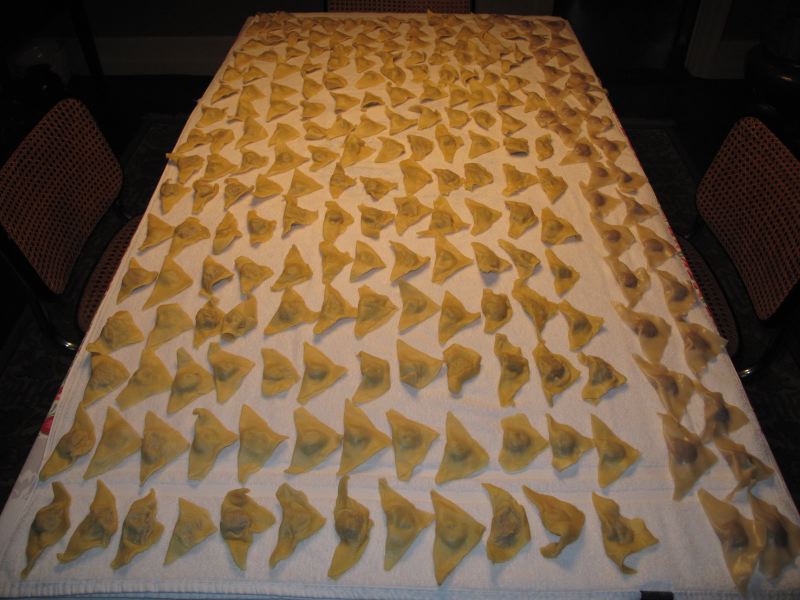
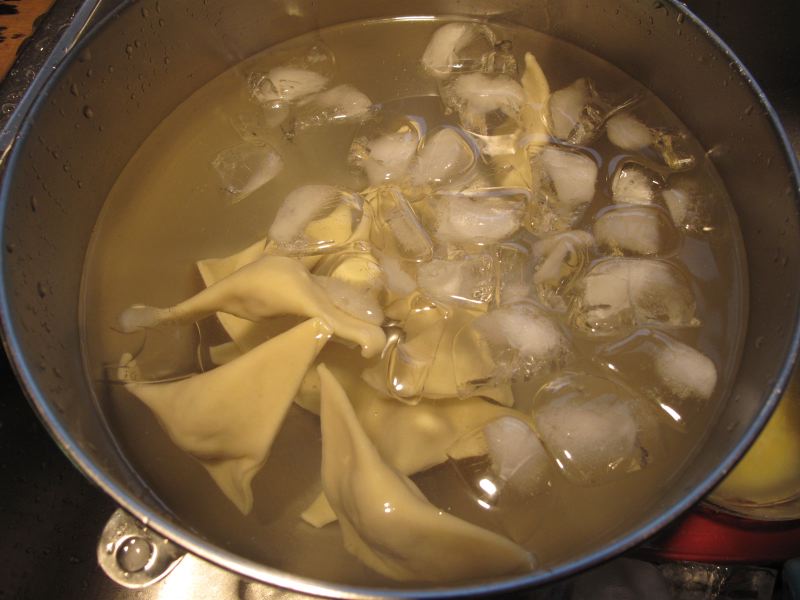
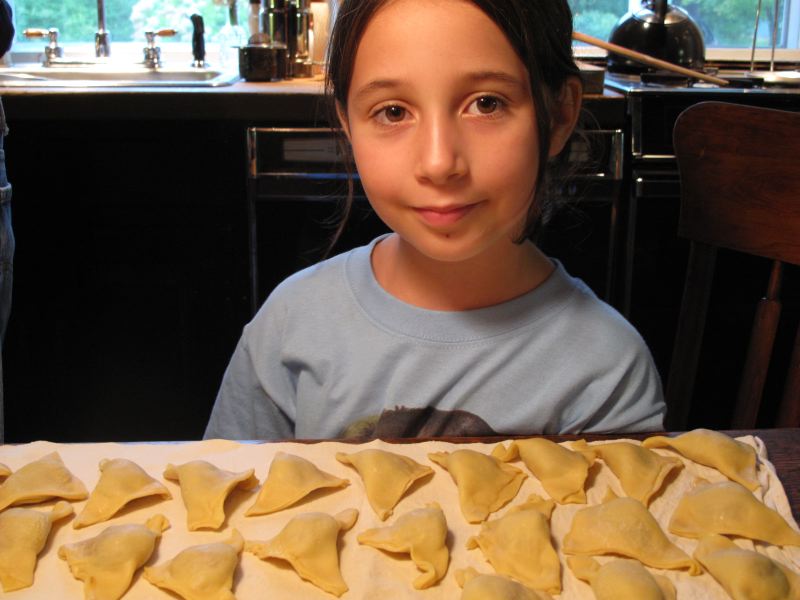
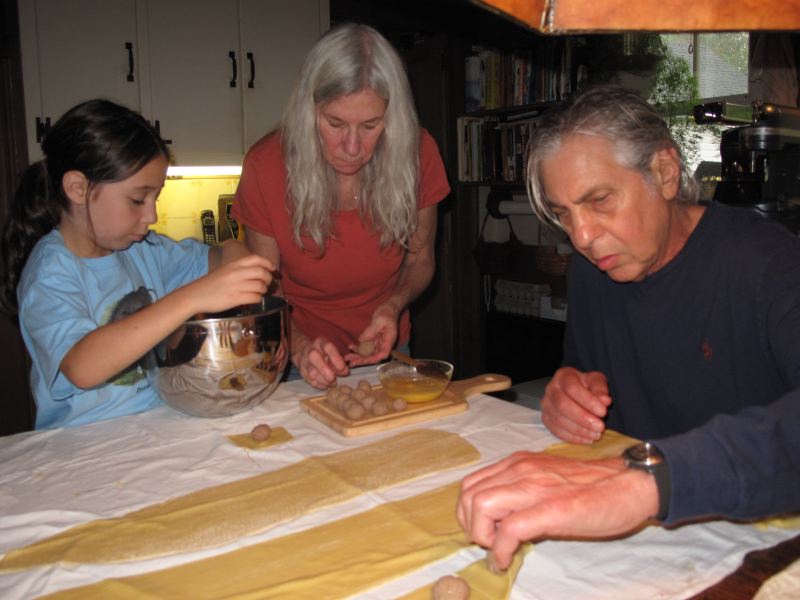
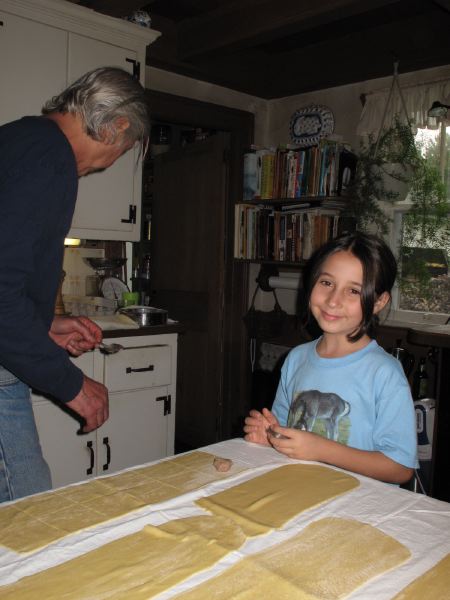
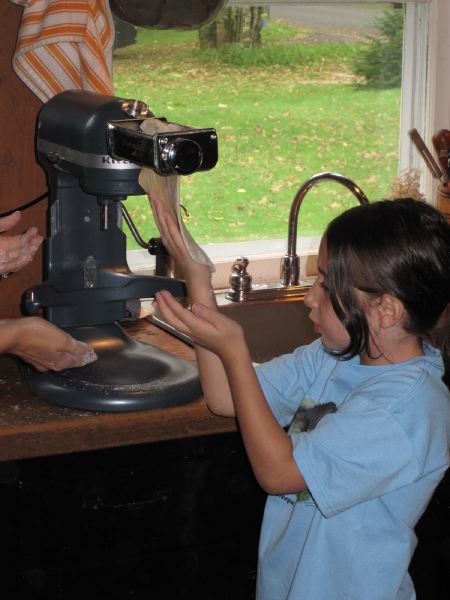
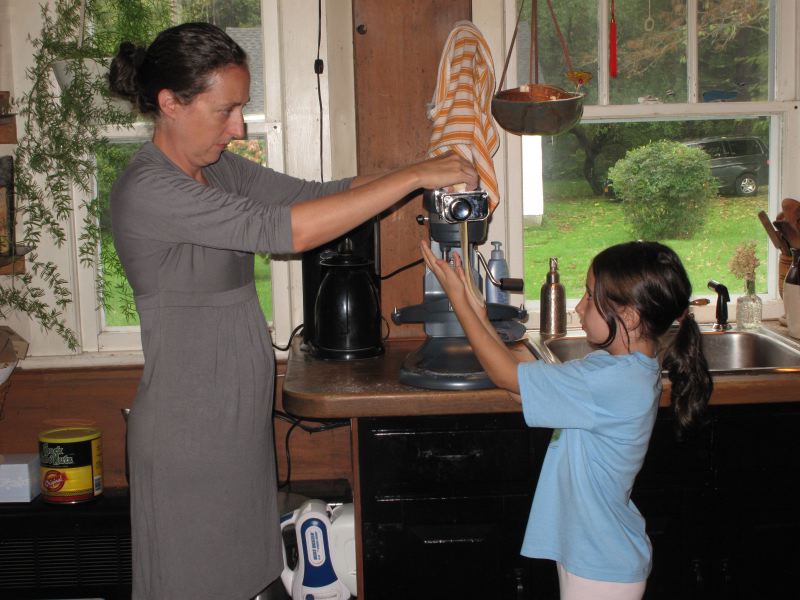
This year we decided to help him make them. I brought up my KitchenAid stand mixer, with the meat grinder and pasta roller attachments. I figured we could make the dough and then run it through the rollers to make it thin. If that worked, it could save a lot of labor. It turned out to work really well, and we set up an assembly line of sorts with each family member rolling, cutting, filling and folding the kreplach. We made about 19 dozen in exactly 3 hours. After they have been filled, you boil them for a few minutes and then lay them out to dry. When you are ready to eat them, you fry them in corn oil, or put them into soup. They are delicious and something to look forward to every year.

My father-in-law said that as kids, he and his brother used to fight to get the next kreplach out of the frying pan. And don’t you know that while we were making them, his brother called.

I can’t give you their family recipe, as it’s not mine to give, but here’s a link to a different one. They show very different fillings than what Neil’s family uses, but I’m sure they are delicious as well.
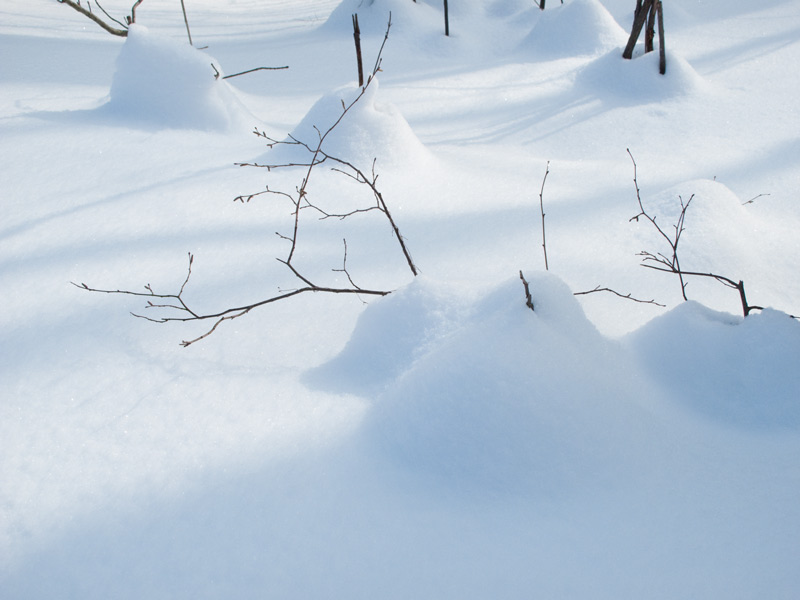
Elderberry Syrup

Elderflower syrup is one of those magical liquids that is a perfect mix of sweet and floral. It is the G-rated version of St. Germain. You mix a tablespoon or two with seltzer and you have a refreshing summer drink. Syrups aren’t as common here as they are in Europe, and therefore are generally pretty expensive. The one I have was brought to me by friends visiting from Austria.

With all the beautiful, creamy white blossoms popping last weekend, I decided to try making my own syrup. I did a quick search and found this recipe. It calls for citric acid, which I didn’t have on hand. I substituted a packet of EmergenC and hoped that it wouldn’t give it a strange flavor (which it didn’t).

You have to brace yourself for the insane amount of sugar used in the recipe. Also, I suggest having everything on hand, because elderflower blossoms are very delicate and start to wilt very quickly.

Recipe adapted from Hunter Angler Gardner Cook:

3 quarts water
entire bag of sugar
juice of 6 lemons
zest of 6 lemons
2 packets of EmergenC or 6 T citric acid (to prevent spoilage)
75-100 elderflower flower heads (I just filled the jars to the top) with the stems trimmed

Fill a bowl with the flowers, lemon juice and lemon zest. Heat the water and sugar on the stove until the sugar dissolves. Add the citric acid. Pour liquid into the bowl and stir.

Cover the bowl with a cloth and let sit for a few days. Strain the liquid through cheesecloth into clean jars.

Since our trip was ending, I didn’t have the time to let everything sit in a bowl. I put the flowers and lemon juice and zest into jars and poured the sugar syrup into them. I saved some extra syrup, which I used to top off the jars once I strained out the flower heads.

The flavor is nice and lemony, but I still prefer my expensive Austrian syrup. I have to figure out how to get more of the floral perfume to infuse into the syrup. I’m not too disappointed because I know that we will happily use up our homemade elderflower syrup.

Winter Fun part 2

Today might win the gross winter day award here in Brooklyn with storm drains clogged with slush and the street corners filling up with several inches of slushy rain. I keep trying to remember to think like a kid, so I put on rain boots and enjoyed stomping in the puddles as I took Lindsay to school.

Here are some photos from a visit with my in-laws up in the Berkshires. We enjoyed the wintery day by snow shoeing on and around a lake. After that, Lindsay and her grandparents made a delicious pasta fagioli in their big colonial fireplace.

Apple Sauce

By this time, nobody in the family was reaching for apples. I still had a huge pile of them, so I decided to do my first experiment in canning. Apple sauce. I have made apple sauce before, which is ridiculously easy, but I have never canned it. I have the book Putting Food By, which is great, but should be subtitled Scaring You Silly About Salmonella. It gives very detailed directions about canning to ensure success. Here’s a site that gives some simple instructions for hot water bath canning, which is what you use when canning fruits, tomatoes or other items with high acidity.

I wasn’t really following a recipe and since this was the first time canning, I made a guess as to how many apples to use. Turns out that I could have double the amount, because in the end I only had 4 1/2 jars worth of applesauce. That was a disappointing yield coupled with the fact that I still had some leftover apples. Not too many though, so I think my work is donee!

Recipe for Applesauce (very loose guide)

Peel and core as many apples as you have. Add to a pot with some liquid like apple cider, apple juice or water. The liquid keeps the apples from scorching. Cook slowly over med-low heat. Stir often. Spice how you like your apple sauce. I used plenty of lemon juice and grated ginger. You could be more traditional and use cinnamon.

Stir and taste often. You can run it through a food mill if you like a liquid applesauce. I prefer mine chunky, so I attacked the apples with a potato masher once they were soft.

Apple Cake

Next stop in tackling apple mountain was an apple cake. This recipe can be made with almost any kind of fruit. It’s delicious and not overly sweet. And it comes out looking gorgeous. The pieces are apple quarters that are sliced thinly, but not all the way through. You place them on top of the batter, cut side up. They sink in and fan out and look amazing. I just sprinkled the top with some sugar and cinnamon.

European Fruit Cake

2  Sticks of butter

1 1/2  cups Sugar

2  Cups Flour (all purpose)

2  teaspoons baking powder

teaspoon cinnamon or cardamom or vanilla, or any other spice you might like

Zest of one lemon

1 pinch of salt

4 eggs

Any fruit you like: plums, peaches, apples, or mixture

Lemon juice for mixing with fruit

1 to 2  tablespoons of sugar mixed with spice to sprinkle over fruit

  • Preheat oven 350 F
  • Butter your springform pan (10 to 12 Inches) well;
  • In a bowl, mix the butter and sugar until fluffy. Add the eggs one at a time; mix.
  • In another bowl mix your flour, baking powder, spice, lemon zest and salt.
  • Prepare your fruit, cut in pieces or halves. Use some lemon juice for your fruits – to taste.
  • Add your flour mixture to your egg-butter mixture. Spoon batter into your springform pan; add all the fruit on top of batter (fruit will sink through the batter as it cooks). Remember you can add as much fruit as you like but the cooking time will vary slightly. Sprinkle the top of the fruit with some sugar and spice.

Place in oven for approximately 45 to 65 minutes, test with a skewer, it should come out clean.