Making Vanilla Extract

vanilla extract-2

I’m not sure exactly how making vanilla extract came on my radar. It probably came from buying some at the store and experiencing sticker shock. I do a lot of baking, so I go through it pretty quickly.

I poked around the internet for recipes and mostly found ones on sites that sold vanilla beans. I suspected that the amount of beans they called for was pretty high because they had a product to sell. I am able to buy vanilla beans at my wonderful import shop Sahadi’s.

I decided to begin with a small (200ml) bottle of Tito’s vodka and 3 vanilla beans, cut in half lengthwise and again widthwise. I started that on 8/4 and put it in a dark cupboard to steep. After a month and a half I realized that I had been too cheap with the vanilla beans and bought 3 more. I cut them up the same as before.

It’s now 2 months later and the scent of the vanilla extract is heavenly. You can get into which type of vanilla beans you want to try. For now, here’s a basic recipe.

1 small bottle (200ml) of vodka

6 vanilla beans cut lengthwise and widthwise.

Drop the beans in the vodka and let sit in a dark cupboard for 2 months. Re-bottle into small cute bottles and share with your friends. Or horde it yourself and share your baked goods.

vanilla extract-1

How to Make Felted Acorns

felt acorn-1The next time you are taking a walk in the woods, and the ground isn’t covered in snow, you might want to gather some acorn caps to make felted acorns. It’s a quick and simple project and looks nice on a little dish, or tied to a present, or even as an ornament. I thought they would be fun to make into a garland, but haven’t engineered that just yet.

To make the felted balls, you will need either wool roving or a rustic-style of yarn. The more processed the fiber, the less likely it is that it will felt. Think itchy wool, and you’re halfway there.

You will need a bowl of warm, soapy water. I used dish soap. Make a loose ball of yarn or roving about the size of a peach pit and dip it into the water. Squeeze the excess water out and start to roll the ball between your palms in a circular motion. Keep going until you can see that the ball is beginning to felt, which should happen in just a minute or two. Roll the ball until it is the perfect size to fit in your acorn cap.

Wait for the balls to dry and then glue into the cap with a little fabric or craft glue.

Making Miso

A few days ago I took a Miso-making workshop with Cheryl Passwater at the Horticultural Society of NY.

Making miso is not for people who need immediate gratification. The recipe basically goes like this: Cook some dried beans, mix with a few other ingredients, wait a year and then serve. That one-year waiting period makes it seriously daunting to ad lib a recipe!

A few things about miso. Miso is filled with probiotics, which makes it a very healthy food. Darker miso has more probiotics than white miso. Miso is fermented through fungal growth so it’s not a good option for people with fugal health problems like candida. The probiotics take over 6 months to develop, so even though your miso might taste right after 6 months, it won’t be as healthful as it could be until it’s first birthday. Heating miso kills off the probiotics, so salad dressings, and dips are healthier than miso soup.

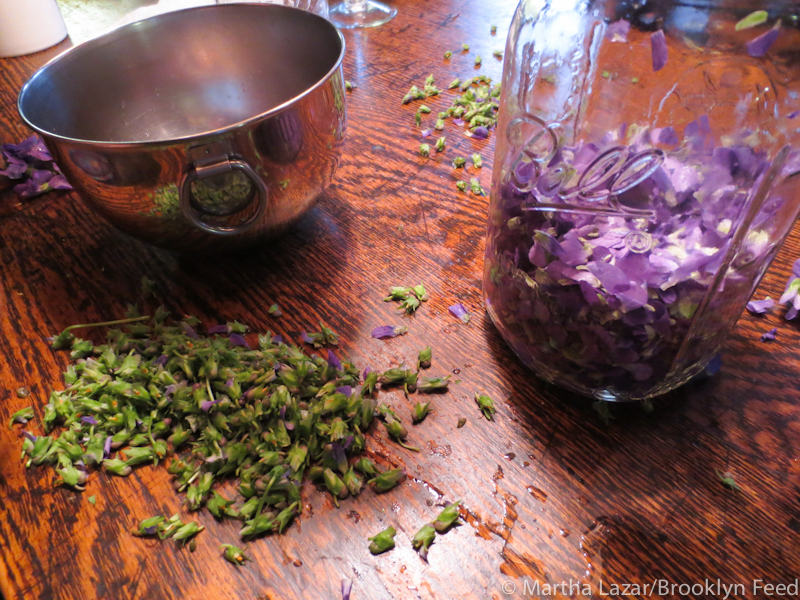
I signed up for this workshop knowing very little about miso. For instance, I thought it was always made with soybeans. Not true. You can make it with pretty much any dried bean. We made a black bean miso. I’ll get back to you in a year to tell you if I like it or not. You can use dried adzuki, chick peas, soy beans, black beans, mung beans, whatever. Again, just remember that it takes a while to ferment, so maybe start slow with the experimenting.

One ingredient that you use in miso-making is koji. Koji is rice (or soybeans) that is inoculated with a mold called Aspergillus oryzae. So, yup, you are adding moldy rice. It comes dried in a bag, so it just looks like a dried grain. You can buy koji (and other miso products) from South River Miso. We used an organic brown rice koji in our workshop.

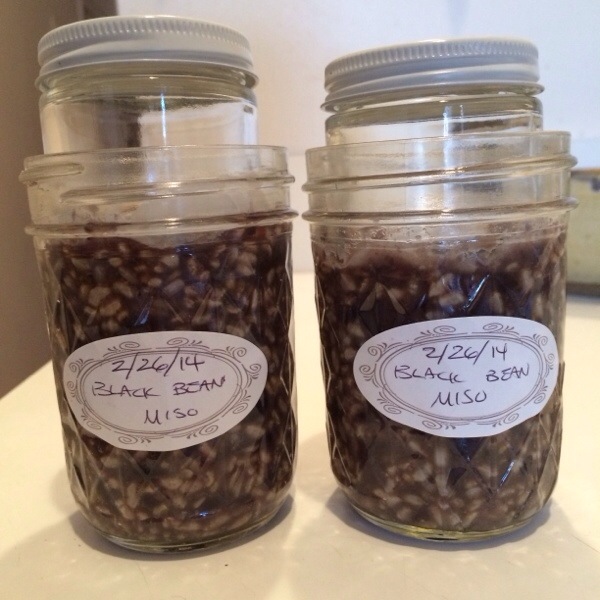
Black Bean Miso Recipe (makes 3 pint jars):

  • 1 c. dried black beans.
  • 1 c. koji
  • 4 t non-iodized salt like sea or kosher salt
  • 1T seed miso
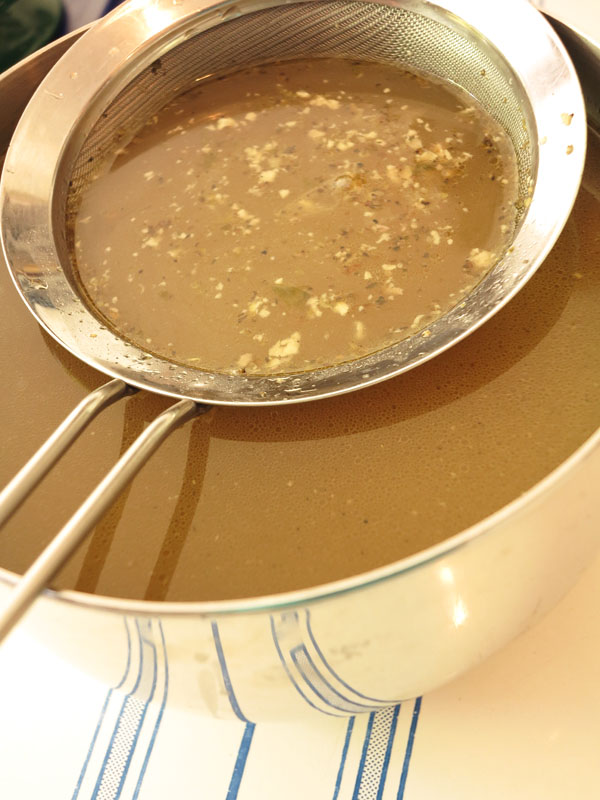
  • 1/2 c. bean cooking liquid

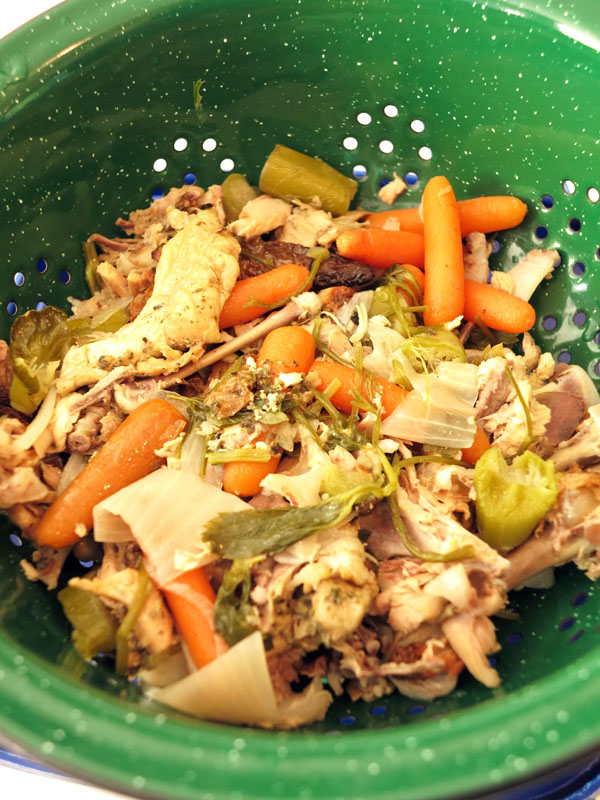
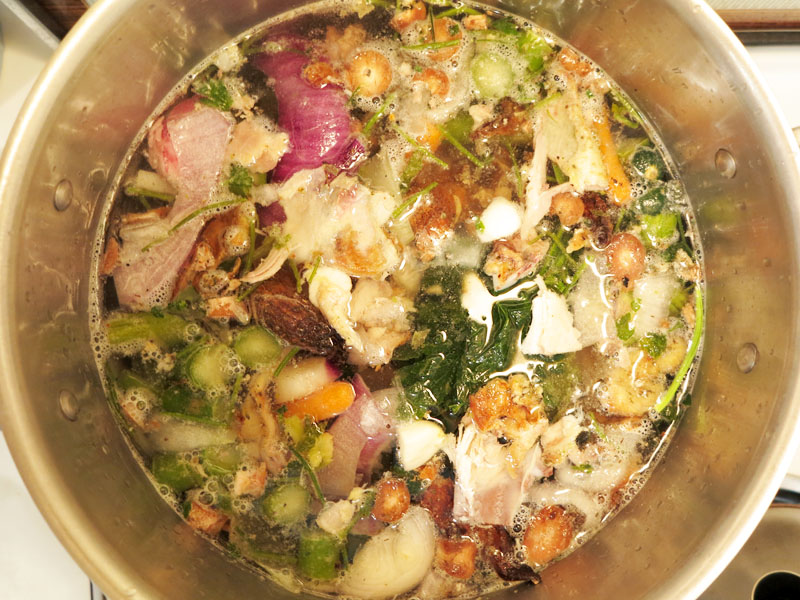
Soak beans overnight and then cook until al dente (about 45 min-1 hr). Reserve cooking liquid. When the beans and liquid are cooler than 105 F, you can begin to mix your other ingredients.20140304-104200.jpg

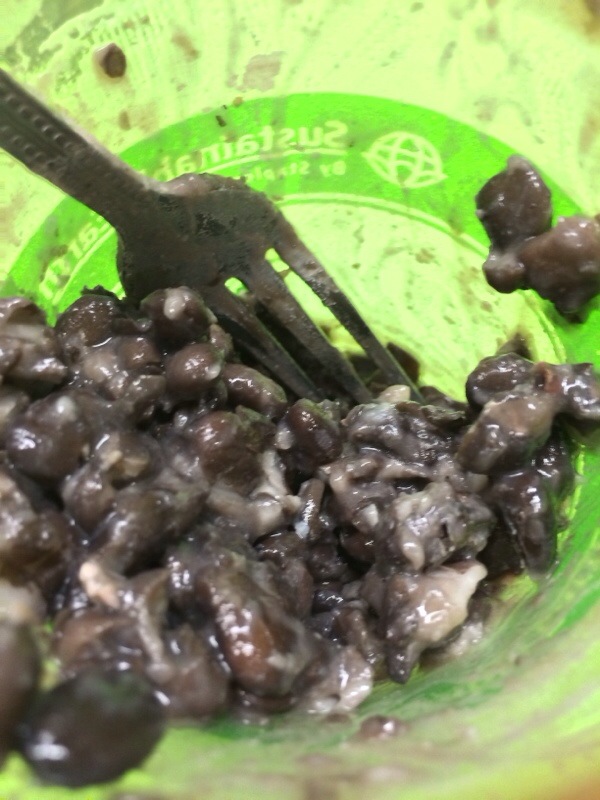
Mash the beans so that the skin breaks. This will allow the mold to enter each bean.

20140304-104117.jpg
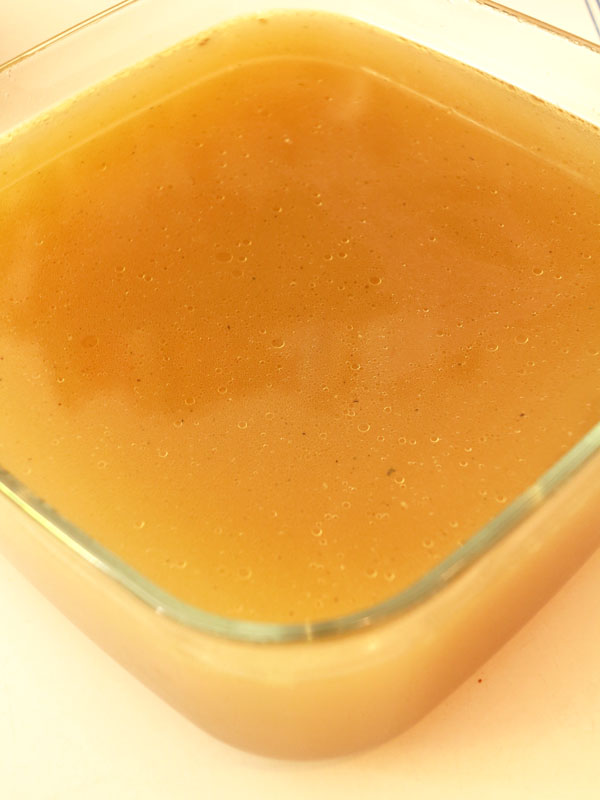
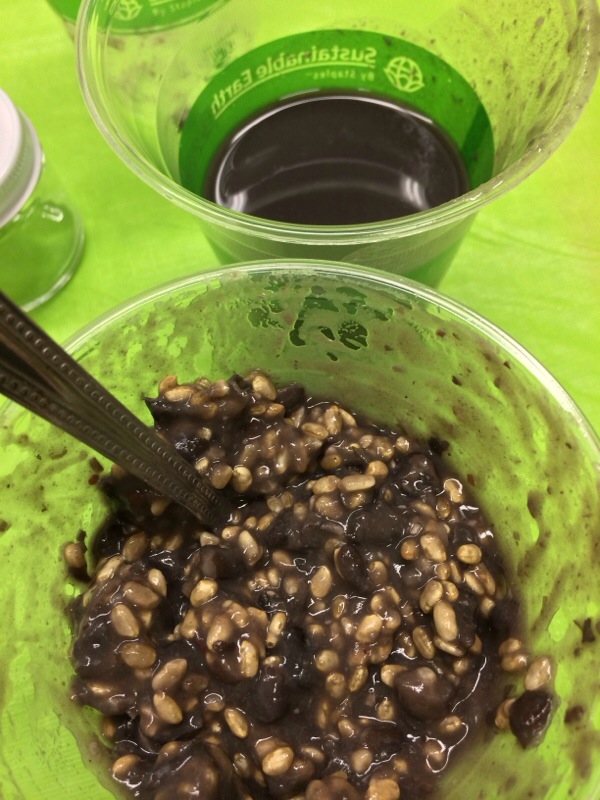
Mix salt into the cooking liquid. Add koji and mix. Then add this to the mashed beans and mix.

20140304-104213.jpg
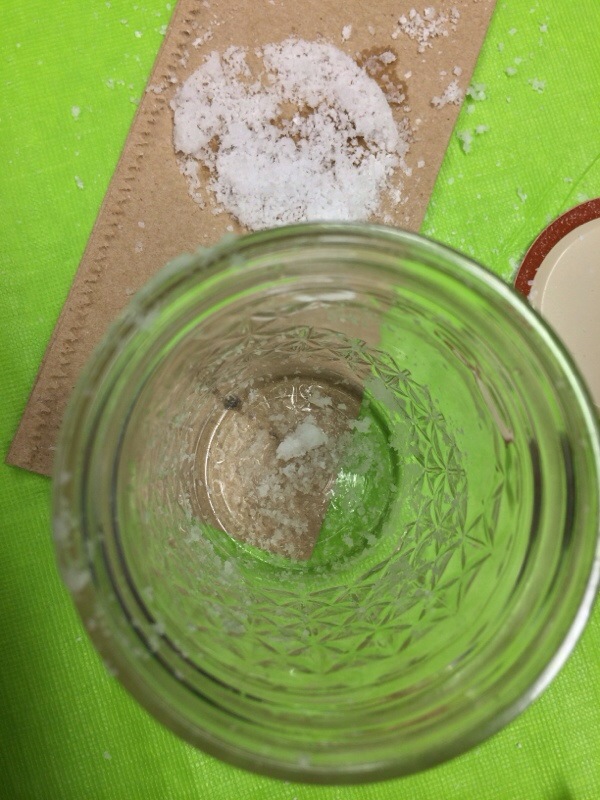
Take a sterilized jar and mist some water on the bottom and sides. Then sprinkle with salt to cover the insides. This was difficult, but try to have a thin coating of salt in the way you would flour a baking pan.

20140304-104135.jpg
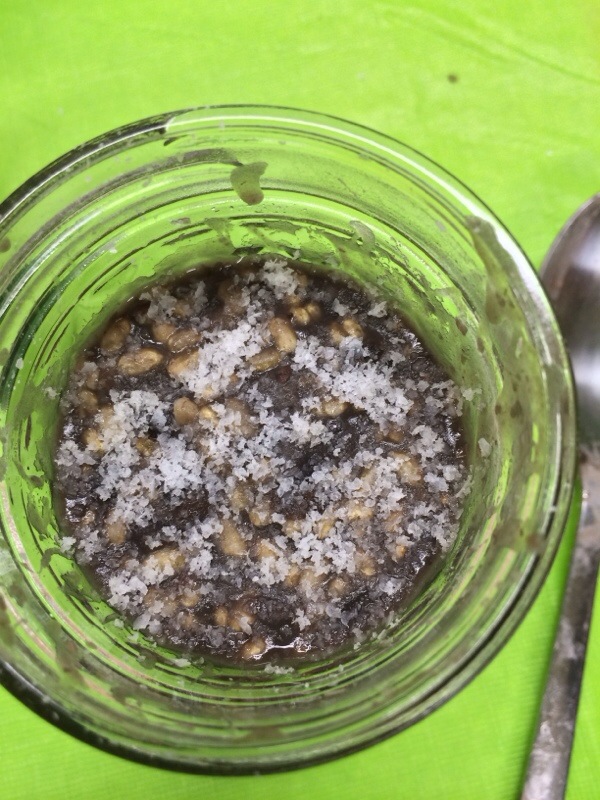
Add the bean mixture, and tap to remove air pockets. Spoon in a bit at a time and tap. I used a knife around the sides to help the air escape. Sprinkle the top with a fine layer of salt.

20140304-104149.jpg
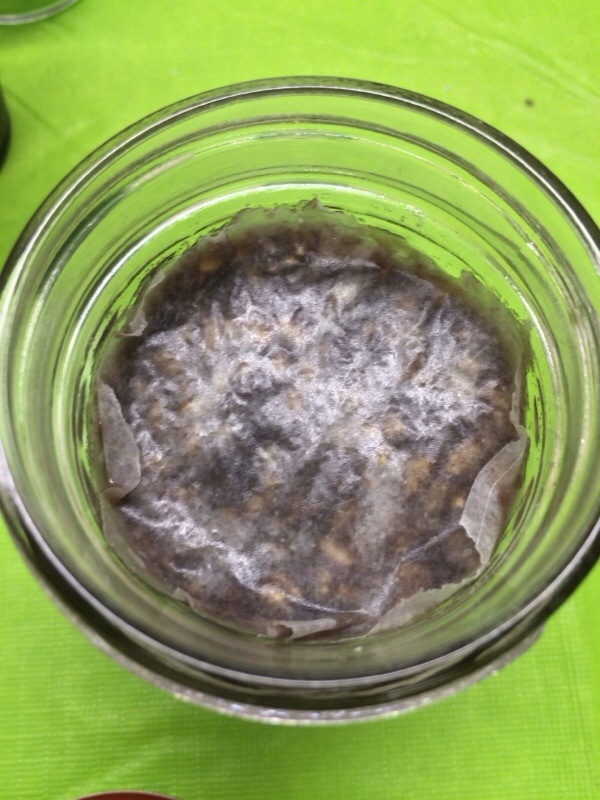
Cover with wax paper.

20140304-104227.jpgYou will want to weigh the wax paper down with something. For the workshop, they ordered jars that were small enough to fit into the larger jars. Don’t push down as this will make the miso mixture ooze up the sides.

20140304-104241.jpgCover with a cloth to keep dust and critters out. You don’t want to seal out air.

Now wait a year. There might be a layer at the top of the jar that doesn’t look appetizing. You can scrape that away to get to the good stuff. At this point you can decide if you want to puree your miso or keep it chunky.

I have my two jars stored in the root cellar at my in-law’s house. Good luck making miso. Let’s reconvene in a year and talk about our experiments!

Fabric Gift Bags

fabric bags-1
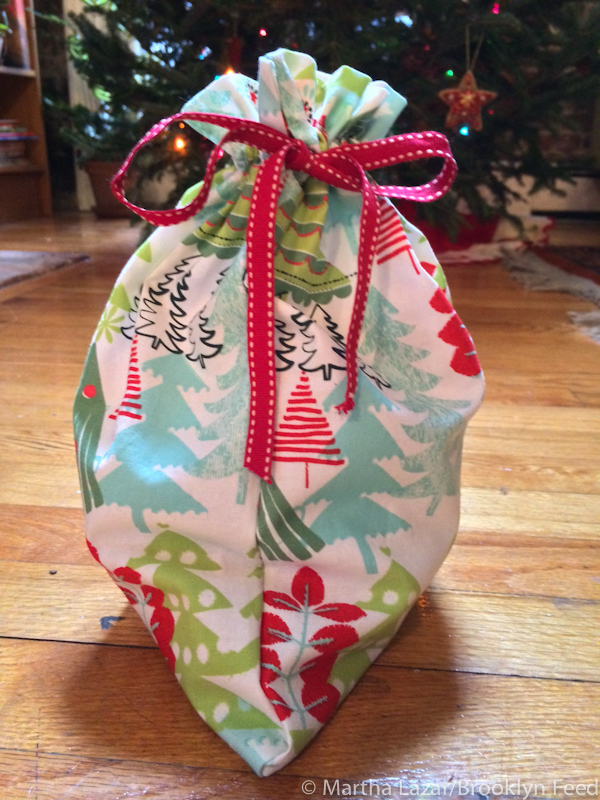
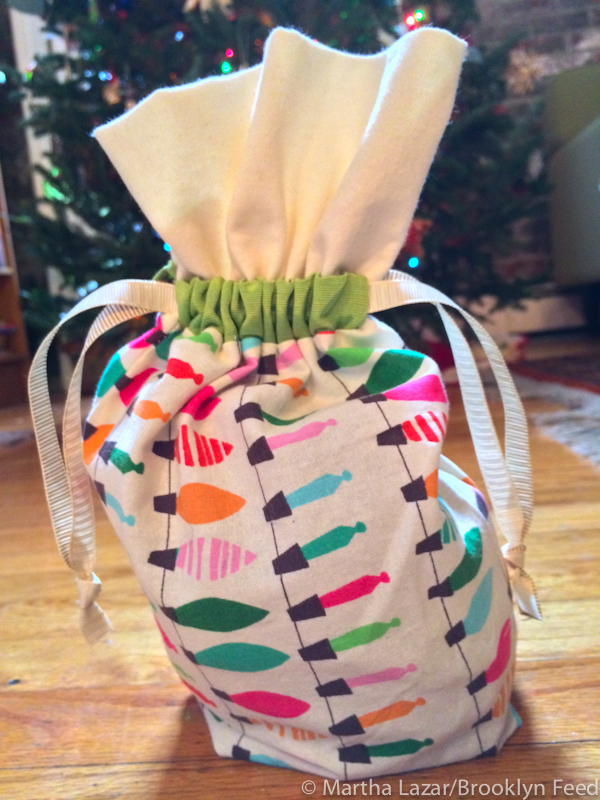
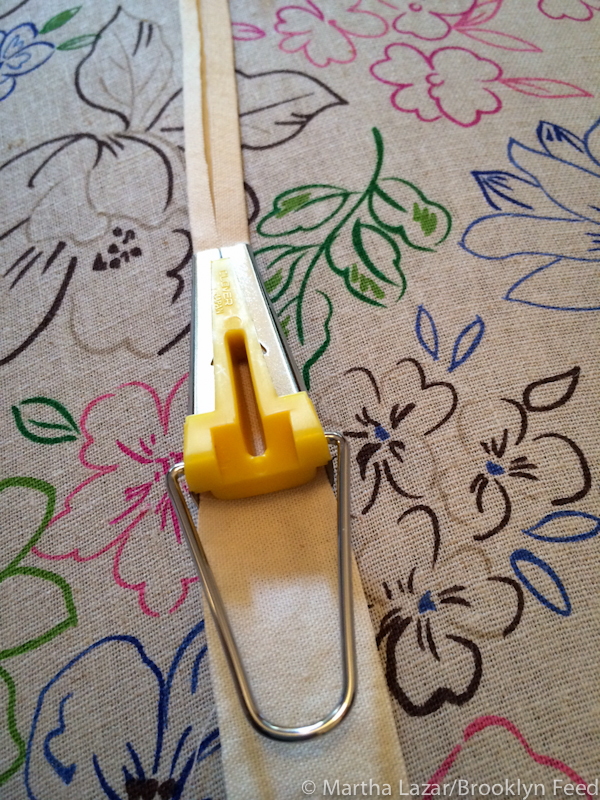
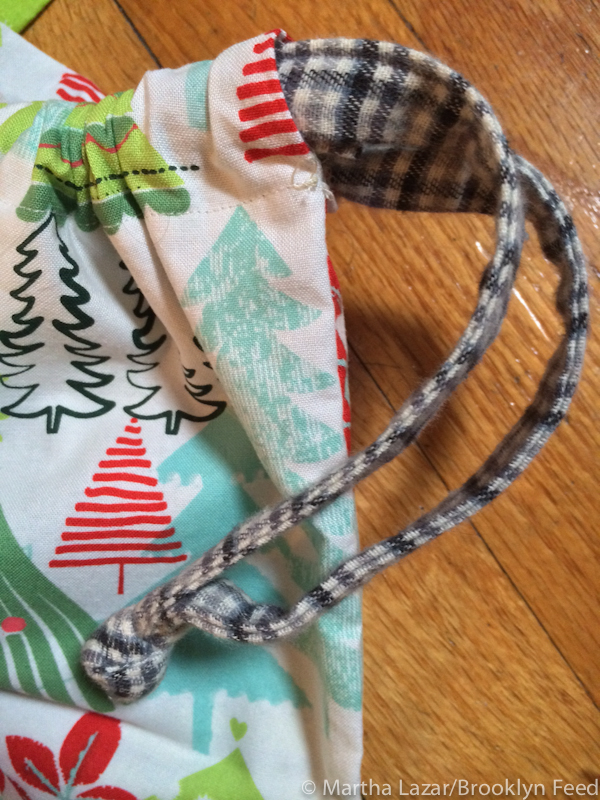
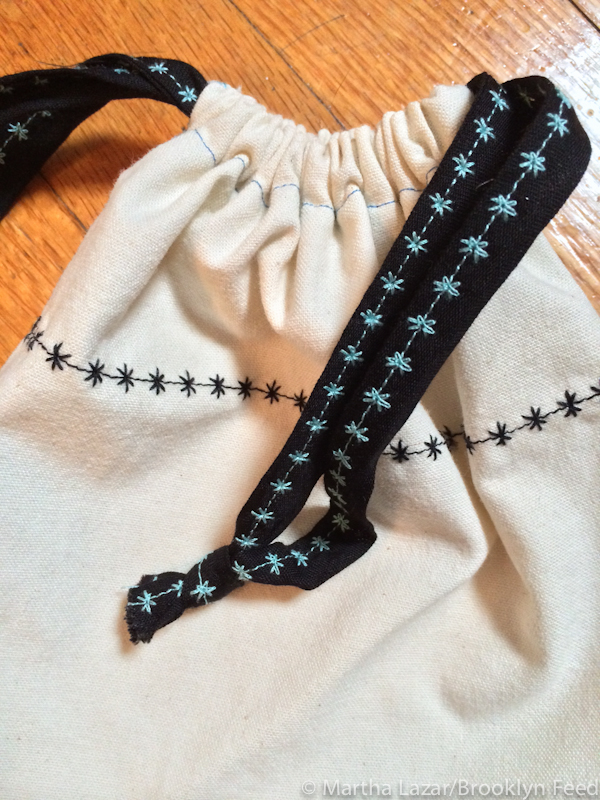
Every year on Christmas I have a mini freak-out. It usually passes without notice, but this year I’ve decided to pre-empt it. The freak-out is about the big recycling bag filled with wrapping paper.  We usually wrap our gifts the night before, so this colorful paper is only “in use” for a few hours. I’ll spare you my rantings on the subject.

fabric bags-4Anyhow, this year I decided to do something about it. Inspired by my new serger sewing machine, I have been making fabric gift bags. It’s been a lot of fun to use fabric scraps that have been sitting in a box for ages. So much fun that I even ordered some holiday-themed fabric. As I see it, we will be able to use these bags for years and alleviate the need for wrapping paper. I have been plugging away at them and searching the web for different tutorials. Rather than make my own tutorial, here are some links to good ones that I used:

Drawstring bag by Kitty Baby Love. I used their instructions to make the larger muslin bag in the photo above. This bag has french seams and drawstrings on both sides of the bag.

Fabric Gift Bag by Positively Splendid. I used their instructions for the bag shown below. It has a drawstring on just one side, which is nice if you are running low on ribbon.fabric bags-2

I made the bag below with instructions from the book Ready Set Serge.fabric bags-3

Making drawstring bags uses a heck of a lot of ribbon, which can get pricey. When I ran out of ribbon, I wanted to keep going instead of having to shop for more. What do they say about necessity being the mother of invention? I decided to take out my bias tape-making gadget and turn 1″ strips of fabric into bias tape. Then I chose fun stitches and thread to sew the seams closed.

fabric bags-7fabric bags-8fabric bags-6fabric bags-5

And what comes after all these drawstring bags you ask? How about a bunch of these cute zippered bags? So perfect for storing my knitting notions!fabric bags-9

How to Make Sumac Juice

Berkshires-14
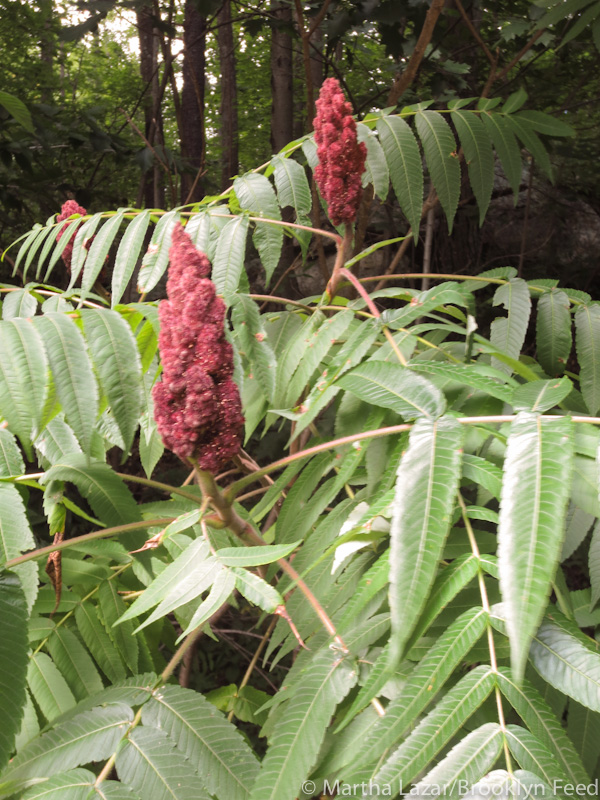
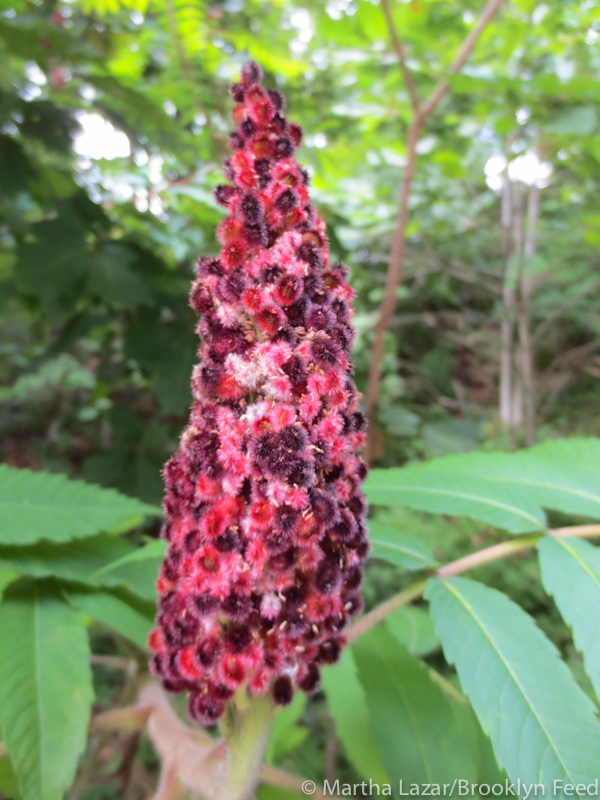
I know what you are thinking… You are thinking Poison Sumac. Relax. There are other varieties, which are completely wonderful and harmless. Check your guides before you eat any wild edible, but a good rule of thumb with sumac is that if the flower stalk is red, it isn’t poisonous.

The juice you make from a sumac has a wonderfully tart lemonade-like flavor that is very refreshing in summer.

Berkshires-12 Berkshires-13We drove along the roadsides with garden clippers and a big shopping bag. I can’t tell you exactly how many we picked, but it felt like several pounds worth. It filled the bottom 1/3 of a large shopping bag. Here’s a photo of our haul.Berkshires-15

Okay, so once you have gathered a bunch of flower stalks, grab a big canning pot, or stock pot. Fill it halfway with room temperature water. DO NOT rinse the flowers off before you use them or all the flavor will wash away.

Drop a few stalks into the water. Grab and squeeze the flowers. The flowers will fall off the stalk and that’s fine. Just keep kneading and squeezing the flowers. You will notice that tiny red hairs from the flowers will start sticking to your hands. They will wash off.

Take the flower stalks out and add new ones. Keep doing this until you run out of flowers. The more flowers you have, the stronger the juice. Here’s a photo of our concentrated juice to give you an idea of the color it will be.Berkshires-18


The juice is really great, and lends itself well to many things. You could cook with it, but we just added seltzer to make spritzers. There will be a cocktail recipe coming up shortly!

Berkshires-20

How to make Violet Syrup

violet syrup-3

When the violets are out and blooming, make sure to gather some for your kitchen. These edible flowers can be used in many ways. You can sprinkle them in salads to add a splash of color, you can freeze them in ice cubes to put in fancy drinks, you can crystallize them (although I have never done that), and you can make violet syrup.

violet syrup-2

I looked at various recipes for violet syrup and they were all various combinations of violets, water and sugar. I decided to wing it a bit and the results came out well.

First, gather as many violets as you can. It seems as though the flowers will be their sweetest before they are in full sun. So early day or early evening works best. You can use your hand like a rake to catch the flowers between your fingers. This makes it quicker. Recruiting small children works well. My daughter loved picking flowers with me.

Rinse off the flowers and pluck off the stems. I wasn’t clear whether I needed to remove the green bit on the end of the flower as well. The first batch (photo below) I went crazy OCD and removed them. My second batch, I didn’t. I couldn’t tell any difference, so save yourself a lot of work and leave the green ends on.

violet syrup-4

My recipe based on how many flowers I gathered..

  • 1/2 quart of violet flowers in a heat-proof jar with lid
  • Add 1 1/2 cups boiling water. Let this sit 24 hours.
  • Strain the violets out of the water and press as much liquid as you can from them.
  • Combine 3 cups of sugar to the liquid and heat in a pan until the sugar dissolves.
  • Stand back and look at the gorgeous liquid and start planning how you are going to use it.

violet syrup-5

violet syrup-1

We tried it in cocktails, but I thought the subtle violet flavor was lost and only tasted the sugar. We have made soda by adding some seltzer. It is like the European fruit syrups used to flavor fizzy water. And we have poured it over waffles. It’s really lovely.

Interestingly enough, violets were used as a kind of litmus paper. If you add an acid like lemon juice, the liquid will change to a magenta color. I believe it turns green with a base, although I’ve not tried that.

Ukrainian Easter Egg Dyeing

Here’s a fun thing we did a while back that somehow got pushed to the blog’s back burner. Yup, it’s seasonal, but it was really fun and I wanted to share. I’ve been waiting to do this with the kiddo until now because you work with permanent dyes and lit candles. She did a great job.

My sister holds a Pysanky (that’s what you call this) party every year at her painting studio. It’s the perfect space to get down and messy/creative. You can see a great post on her blog here.

You can find all the supplies you need here.

How to make stock

I make a simple stock that is a combination of chicken and veggies. You can make yours all vegetarians very easily. I don’t go out and buy the ingredients for my stock. I kind of just, uh, stockpile them. Hee  hee. What I do is whenever I cut the ends off of carrots, or pull the stems off of parsley, I put the trimmings into a ziploc bag in my freezer. Bones from chicken, woody asparagus ends, whatever I’m cooking with goes in the bag.

When the gallon-sized bag is full, I put everything in a stock pot and cover with a couple of inches of water. I simmer for about an hour, or until the aroma makes my feet lift off the floor and I float towards the kitchen.

I scoop the big pieces out and then pour the stock through a mesh strainer. Voila! It’s much better than those cartons of chicken stock. And it’s already made with everything I like to eat.

How to Make Sauerkraut

I learned how to make sauerkraut in a workshop given by Sandor Katz. You can see his book Wild Fermentation in my booklist on the right. What I learned is that it is probably one of the easiest things you could make. So go ahead and impress all of your friends by making some.

What you need:

A variety of vegetables – You can go with just cabbage, but in the workshop Sandor used all kinds of fall veggies. I made a batch like that before and it came out delicious. In this batch I used a head of cabbage, a few giant carrots, a few radishes (the gorgeous finger-like ones above) a couple of turnips, an onion and  some bok choy. It’s a great way to use up fall veggies from the farmer’s market or your CSA.

Slice and chop up your veggies. I shred the cabbage and bok choy and cut everything else about 1/8″ thick. Place them in a large, non-reactive bowl and add a lot of salt. For this amount of veggies, I added 3T of salt. Then you knead the salt into the veggies to break down the cell walls and start drawing out the moisture. I’m not sure if you can tell from the photos, but the veggies are starting to get wetter as I go.

Once you have a fair amount of water, you want to put everything into a jar or crock to ferment. I use a big Ball jar. You have to really smush the veggies into the jar and press down on them very firmly. Add all of the liquid as well. I got a huge bowl of veggies to take up about 6 cups of space in this jar. As you push, the liquid rises above the level of the veggies. You want this to happen. Keep the veggies pushed down under the surface of the water. I don’t have a fancy sauerkraut pot (yet), so I put a glass on the top, which weighs the veggies down.

You don’t want to seal the jar, but you do want it covered. Wrap a cloth or paper towel around the top and secure with a rubber band. And then you let it sit for a week or so. Now you have to de-program your brain and let this sit out unrefrigerated. It will even emit bubbles, which made me surprisingly squeamish the first time I did this. The length of time it takes to ferment depends on how warm it is and also how strong you like your sauerkraut.  My batch is ready to bring up to my in-laws for the Thanksgiving weekend.


Elderberry Syrup

Elderflower syrup is one of those magical liquids that is a perfect mix of sweet and floral. It is the G-rated version of St. Germain. You mix a tablespoon or two with seltzer and you have a refreshing summer drink. Syrups aren’t as common here as they are in Europe, and therefore are generally pretty expensive. The one I have was brought to me by friends visiting from Austria.

With all the beautiful, creamy white blossoms popping last weekend, I decided to try making my own syrup. I did a quick search and found this recipe. It calls for citric acid, which I didn’t have on hand. I substituted a packet of EmergenC and hoped that it wouldn’t give it a strange flavor (which it didn’t).

You have to brace yourself for the insane amount of sugar used in the recipe. Also, I suggest having everything on hand, because elderflower blossoms are very delicate and start to wilt very quickly.

Recipe adapted from Hunter Angler Gardner Cook:

3 quarts water
entire bag of sugar
juice of 6 lemons
zest of 6 lemons
2 packets of EmergenC or 6 T citric acid (to prevent spoilage)
75-100 elderflower flower heads (I just filled the jars to the top) with the stems trimmed

Fill a bowl with the flowers, lemon juice and lemon zest. Heat the water and sugar on the stove until the sugar dissolves. Add the citric acid. Pour liquid into the bowl and stir.

Cover the bowl with a cloth and let sit for a few days. Strain the liquid through cheesecloth into clean jars.

Since our trip was ending, I didn’t have the time to let everything sit in a bowl. I put the flowers and lemon juice and zest into jars and poured the sugar syrup into them. I saved some extra syrup, which I used to top off the jars once I strained out the flower heads.

The flavor is nice and lemony, but I still prefer my expensive Austrian syrup. I have to figure out how to get more of the floral perfume to infuse into the syrup. I’m not too disappointed because I know that we will happily use up our homemade elderflower syrup.