 Every year on Christmas I have a mini freak-out. It usually passes without notice, but this year I’ve decided to pre-empt it. The freak-out is about the big recycling bag filled with wrapping paper. We usually wrap our gifts the night before, so this colorful paper is only “in use” for a few hours. I’ll spare you my rantings on the subject.
 Anyhow, this year I decided to do something about it. Inspired by my new serger sewing machine, I have been making fabric gift bags. It’s been a lot of fun to use fabric scraps that have been sitting in a box for ages. So much fun that I even ordered some holiday-themed fabric. As I see it, we will be able to use these bags for years and alleviate the need for wrapping paper. I have been plugging away at them and searching the web for different tutorials. Rather than make my own tutorial, here are some links to good ones that I used:
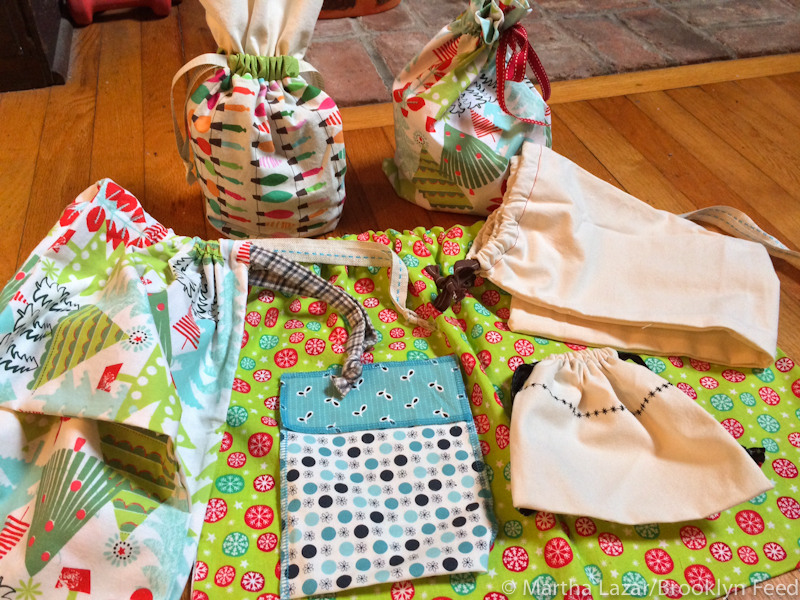
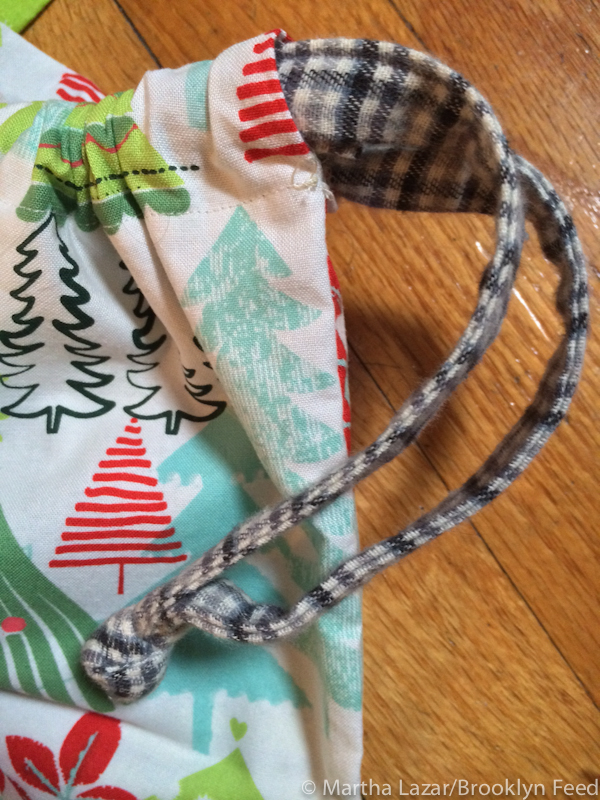
Drawstring bag by Kitty Baby Love. I used their instructions to make the larger muslin bag in the photo above. This bag has french seams and drawstrings on both sides of the bag.
Fabric Gift Bag by Positively Splendid. I used their instructions for the bag shown below. It has a drawstring on just one side, which is nice if you are running low on ribbon.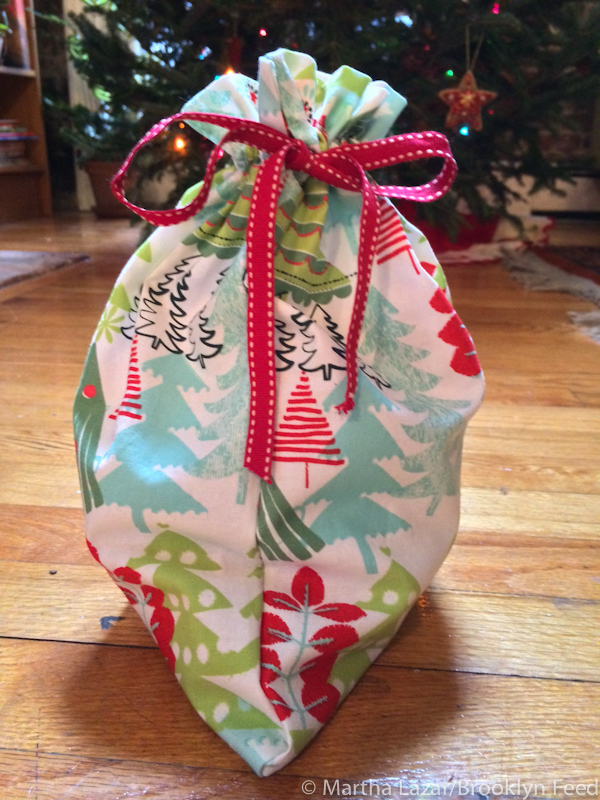
I made the bag below with instructions from the book Ready Set Serge.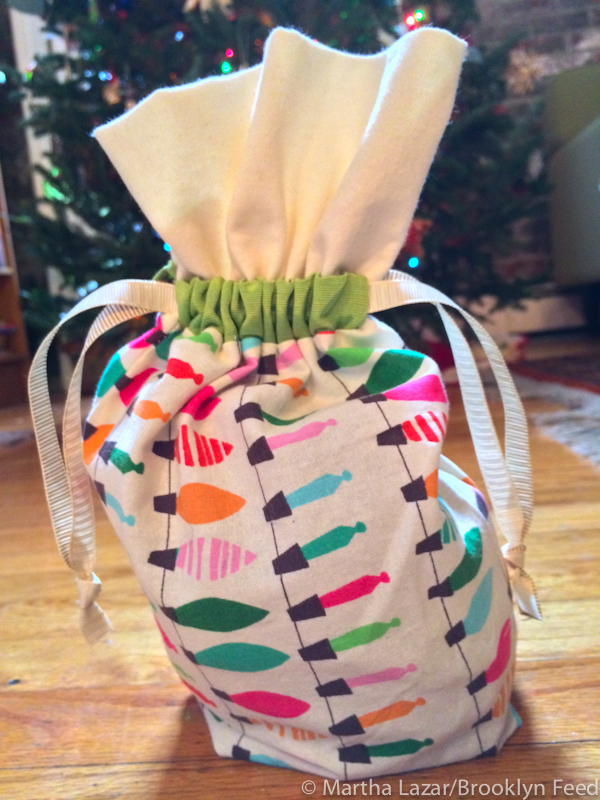
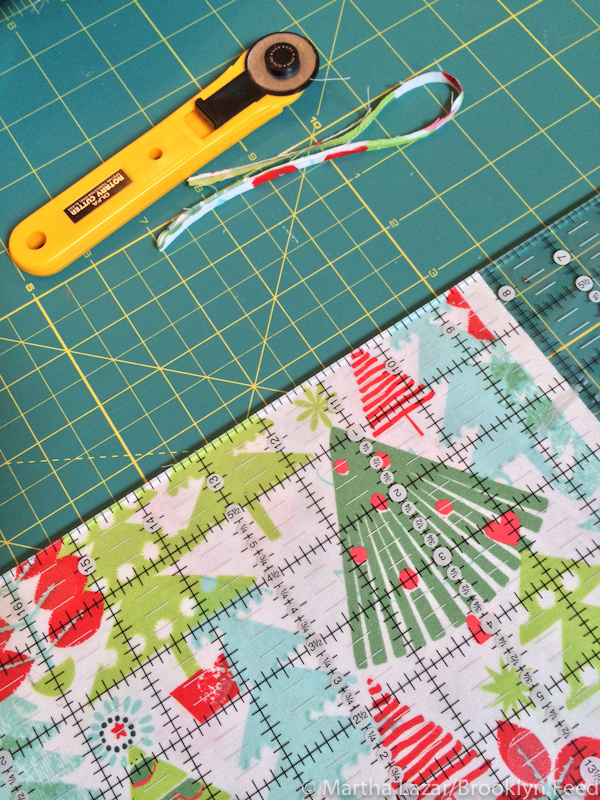
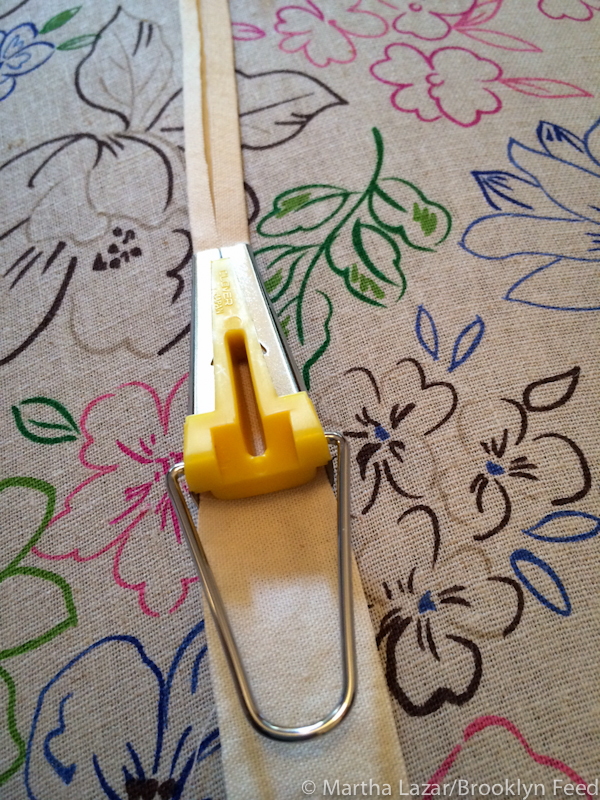
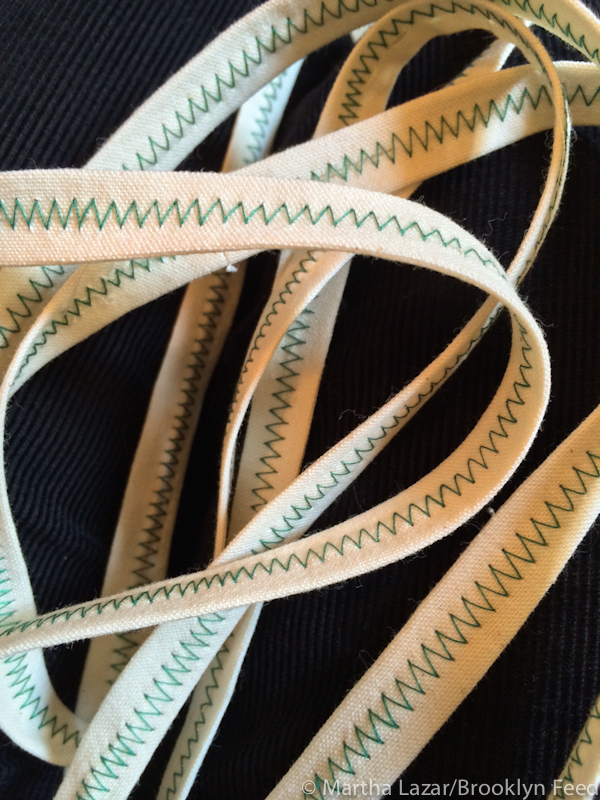
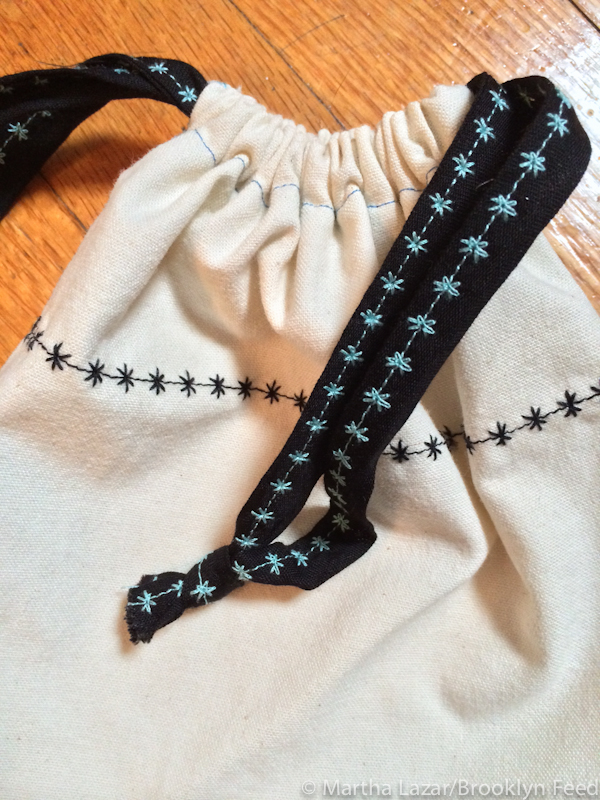
Making drawstring bags uses a heck of a lot of ribbon, which can get pricey. When I ran out of ribbon, I wanted to keep going instead of having to shop for more. What do they say about necessity being the mother of invention? I decided to take out my bias tape-making gadget and turn 1″ strips of fabric into bias tape. Then I chose fun stitches and thread to sew the seams closed.
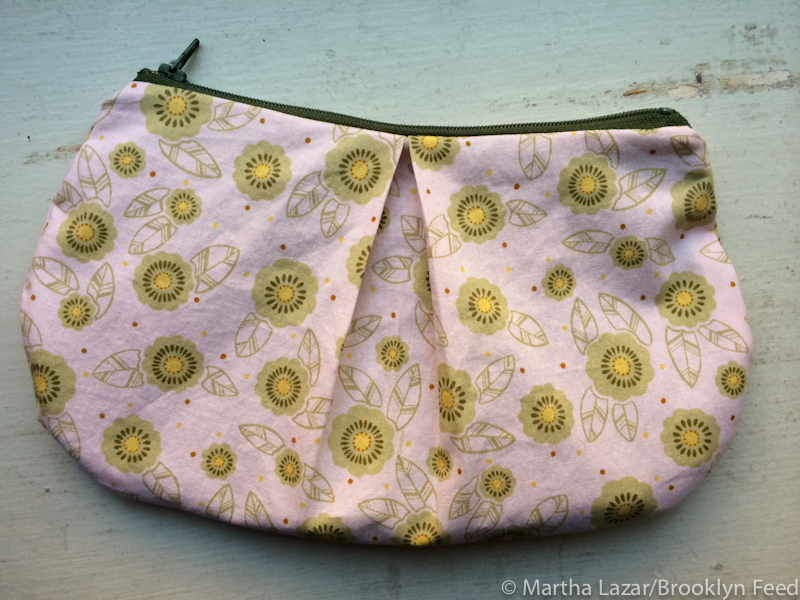
And what comes after all these drawstring bags you ask? How about a bunch of these cute zippered bags? So perfect for storing my knitting notions!