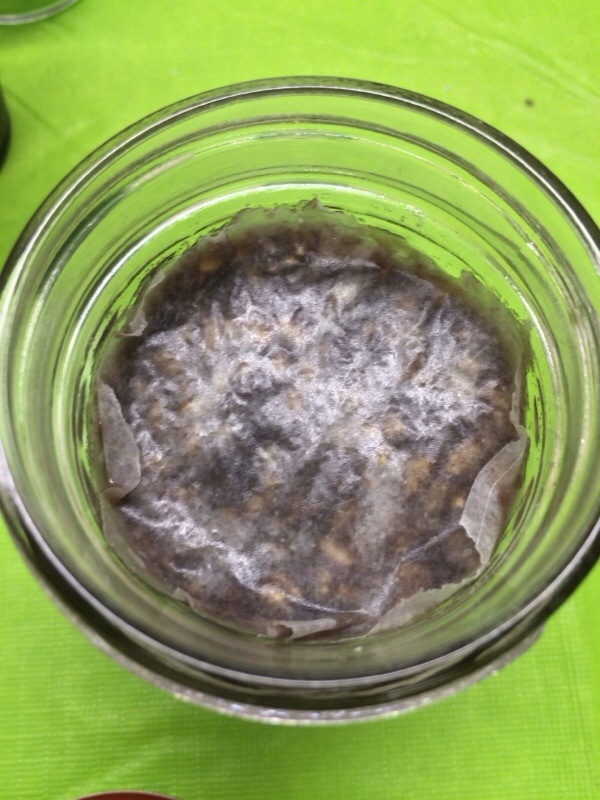
A few days ago I took a Miso-making workshop with Cheryl Passwater at the Horticultural Society of NY.
Making miso is not for people who need immediate gratification. The recipe basically goes like this: Cook some dried beans, mix with a few other ingredients, wait a year and then serve. That one-year waiting period makes it seriously daunting to ad lib a recipe!
A few things about miso. Miso is filled with probiotics, which makes it a very healthy food. Darker miso has more probiotics than white miso. Miso is fermented through fungal growth so it’s not a good option for people with fugal health problems like candida. The probiotics take over 6 months to develop, so even though your miso might taste right after 6 months, it won’t be as healthful as it could be until it’s first birthday. Heating miso kills off the probiotics, so salad dressings, and dips are healthier than miso soup.
I signed up for this workshop knowing very little about miso. For instance, I thought it was always made with soybeans. Not true. You can make it with pretty much any dried bean. We made a black bean miso. I’ll get back to you in a year to tell you if I like it or not. You can use dried adzuki, chick peas, soy beans, black beans, mung beans, whatever. Again, just remember that it takes a while to ferment, so maybe start slow with the experimenting.
One ingredient that you use in miso-making is koji. Koji is rice (or soybeans) that is inoculated with a mold called Aspergillus oryzae. So, yup, you are adding moldy rice. It comes dried in a bag, so it just looks like a dried grain. You can buy koji (and other miso products) from South River Miso. We used an organic brown rice koji in our workshop.
Black Bean Miso Recipe (makes 3 pint jars):
- 1 c. dried black beans.
- 1 c. koji
- 4 t non-iodized salt like sea or kosher salt
- 1T seed miso
- 1/2 c. bean cooking liquid
Soak beans overnight and then cook until al dente (about 45 min-1 hr). Reserve cooking liquid. When the beans and liquid are cooler than 105 F, you can begin to mix your other ingredients.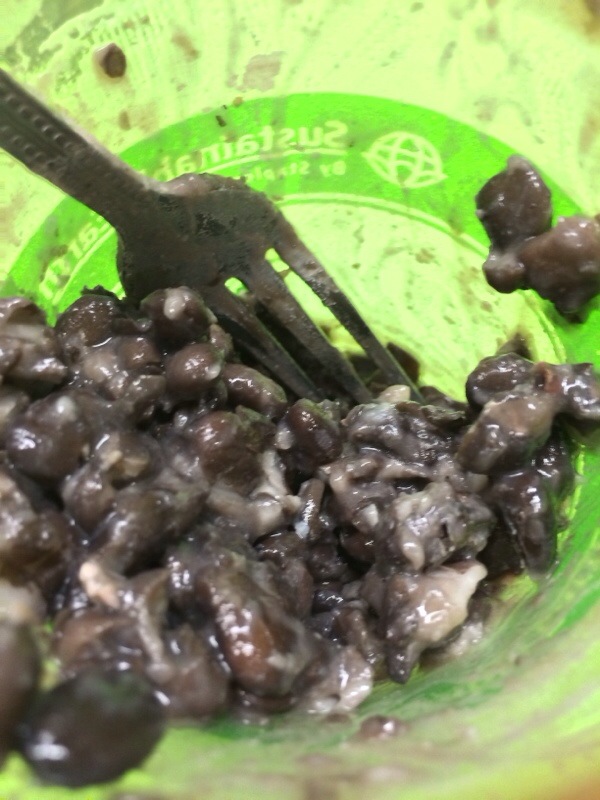
Mash the beans so that the skin breaks. This will allow the mold to enter each bean.
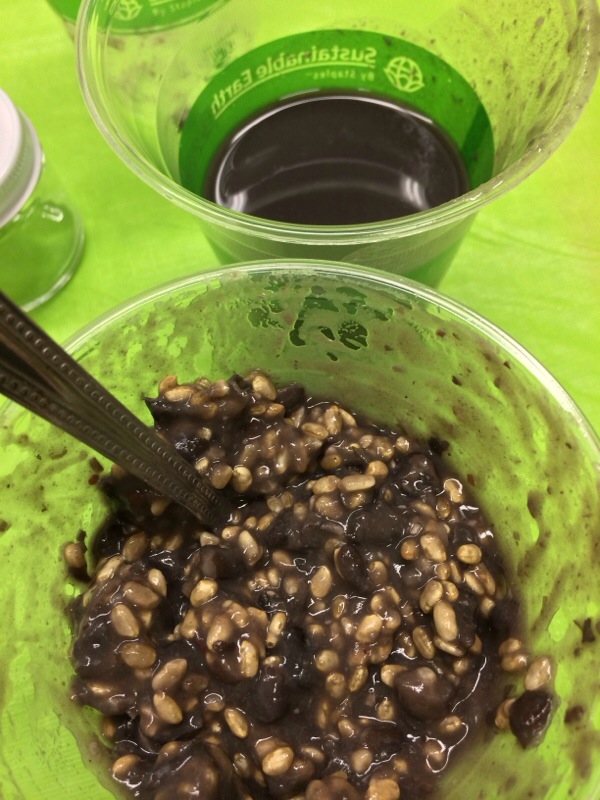 Mix salt into the cooking liquid. Add koji and mix. Then add this to the mashed beans and mix.
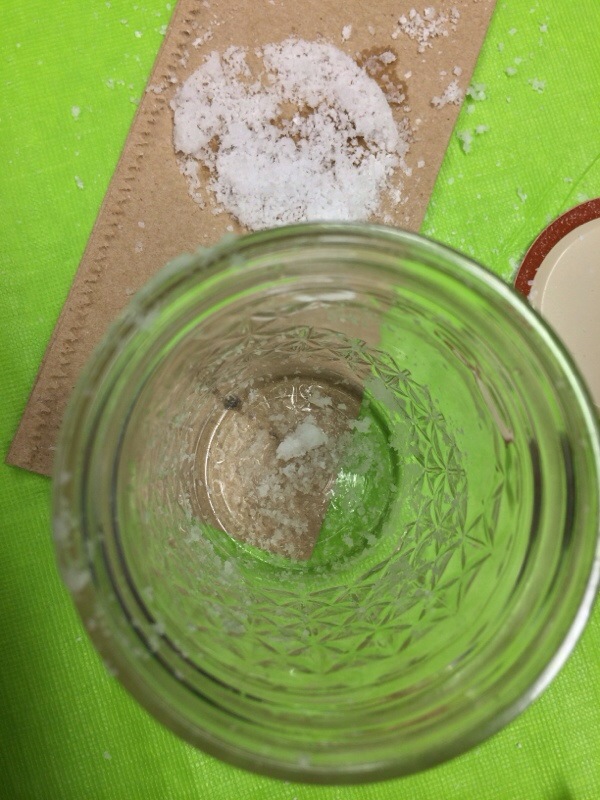 Take a sterilized jar and mist some water on the bottom and sides. Then sprinkle with salt to cover the insides. This was difficult, but try to have a thin coating of salt in the way you would flour a baking pan.
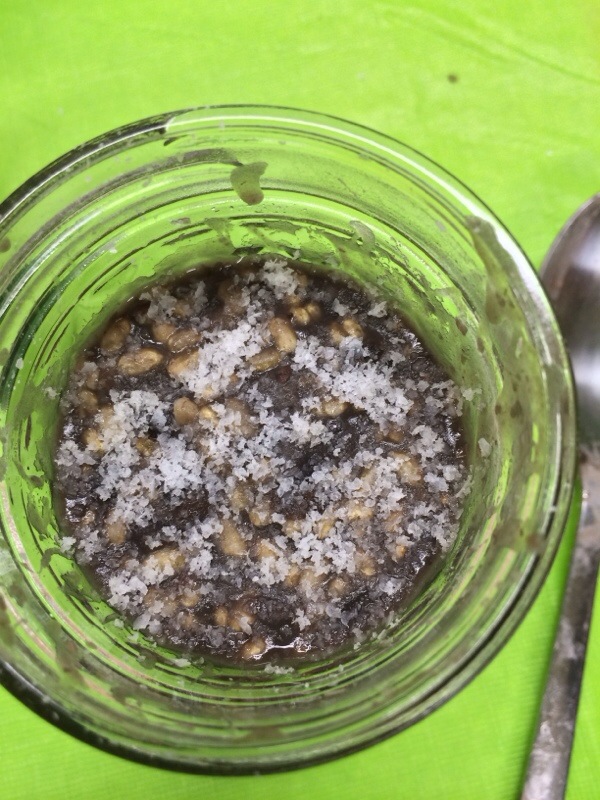 Add the bean mixture, and tap to remove air pockets. Spoon in a bit at a time and tap. I used a knife around the sides to help the air escape. Sprinkle the top with a fine layer of salt.
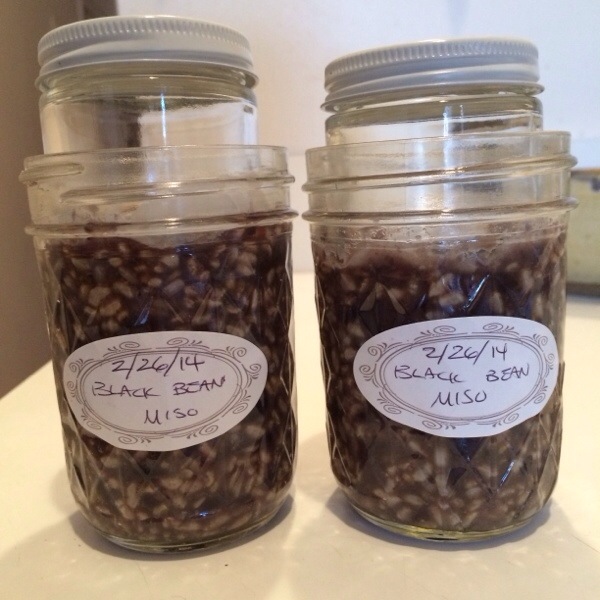 You will want to weigh the wax paper down with something. For the workshop, they ordered jars that were small enough to fit into the larger jars. Don’t push down as this will make the miso mixture ooze up the sides.
 Cover with a cloth to keep dust and critters out. You don’t want to seal out air.
Now wait a year. There might be a layer at the top of the jar that doesn’t look appetizing. You can scrape that away to get to the good stuff. At this point you can decide if you want to puree your miso or keep it chunky.
I have my two jars stored in the root cellar at my in-law’s house. Good luck making miso. Let’s reconvene in a year and talk about our experiments!

